Explore

3D printers are ubiquitous in all kinds of makerspaces. Once expensive, unreliable machines with a steep learning curve, modern 3D printers are user-friendly and affordable tools that get students excited about making.
3D printers are ubiquitous in all kinds of makerspaces. Once expensive, unreliable machines with a steep learning curve, modern 3D printers are user-friendly and affordable tools that get students excited about making.
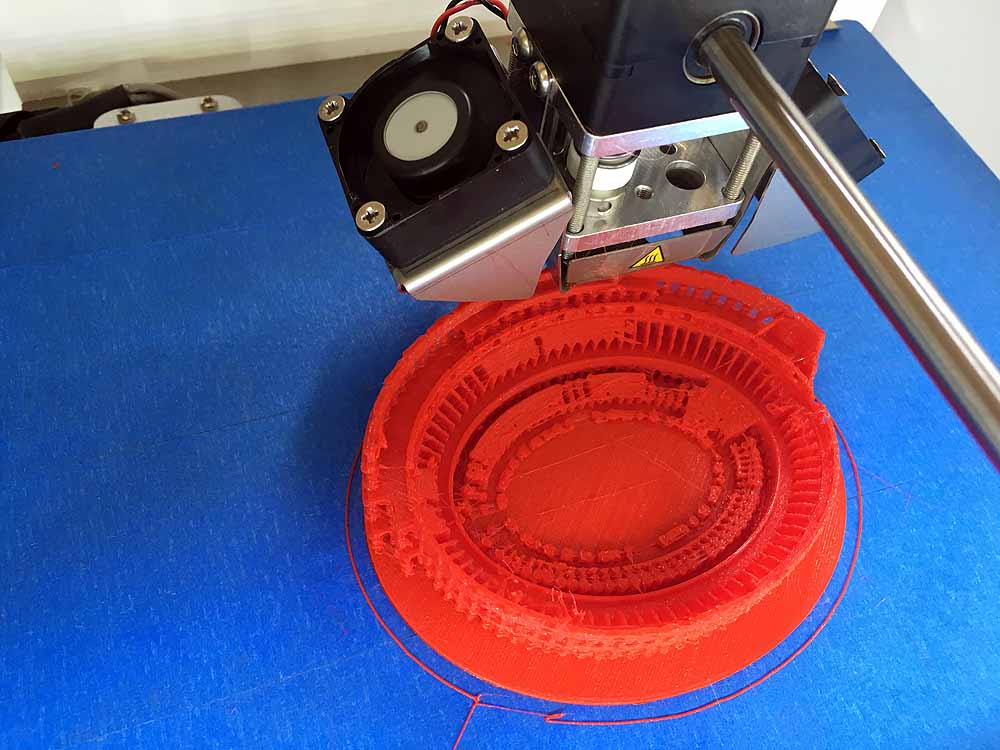
3D printing is a form of additive manufacturing, meaning that material is added layer by layer to create an object. In this process, plastic is softened and deposited in layers that fuse together to form the final object.
A 3D model is a digital file made up of a mesh of triangles that defines the shape of the object. In order to direct the 3D printer to make the object, this mesh must be converted into layers that the 3D printer can "draw." This process is called slicing and is performed by software known as a slicer.
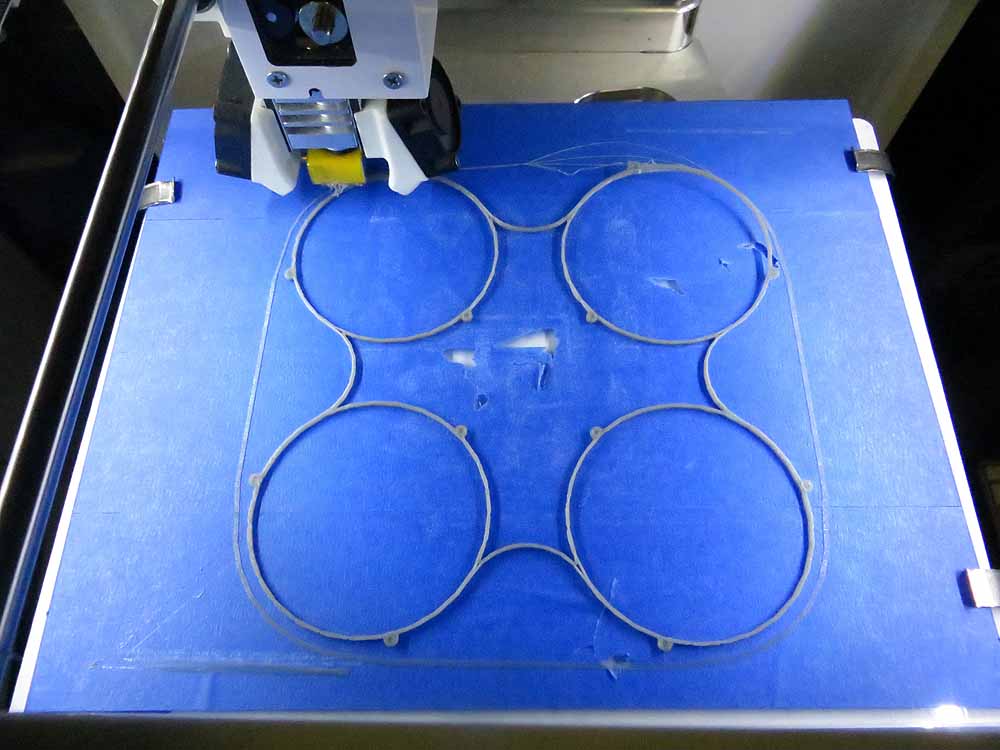
For the style of 3D printer we recommend, the machine features an extruder consisting of a motor and a toothed gear. This mechanism pushes the plastic filament through a heated nozzle and onto a flat build platform, which is often heated to aid with adhesion. The printer moves the nozzle in three dimensions, using this motion to draw each layer of the object, one on top of the other, until the print is complete.
A 3D print consists of an outer shell, called the walls, and an inner structure, called the infill. Infill usually makes up 20% or less of the interior volume and can be printed in various patterns that yield different speed, strength, and weight characteristics.
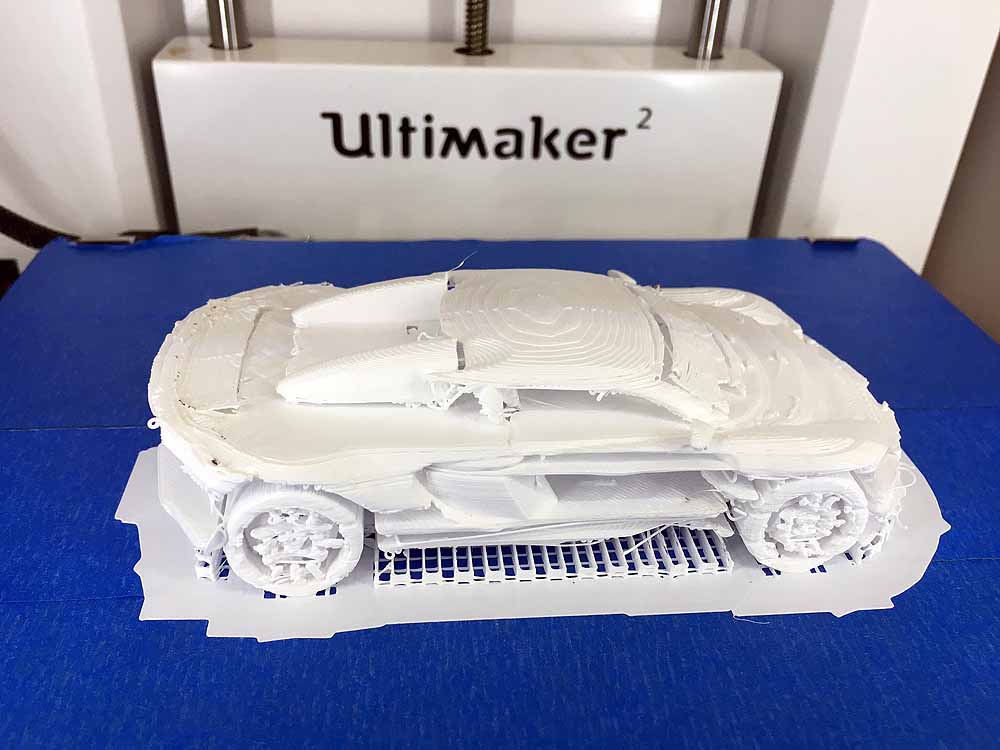
For objects with complex or overhanging geometry, the slicer can generate supports to hold up parts of the print. (Imagine holding a hot-glue gun a few inches over a table and squeezing the handle—the glue falls to the table. The same principle applies to a 3D printer.) These supports are usually easy to remove with snippers or pliers.
The typical 3D printing workflow consists of four basic steps:
For more in-depth guides and primers on 3D printing, check out resources like All3DP.com and Make: Magazine.
In our shop, we have several models of Bambu Lab printers and a slightly older Prusa model. Based on our experience and what we see used around MIT, the following printers are excellent starting points as you shop.
Note: These are not official endorsements—we strongly recommend doing your own research to find the 3D printer brands and models that best fit your needs.
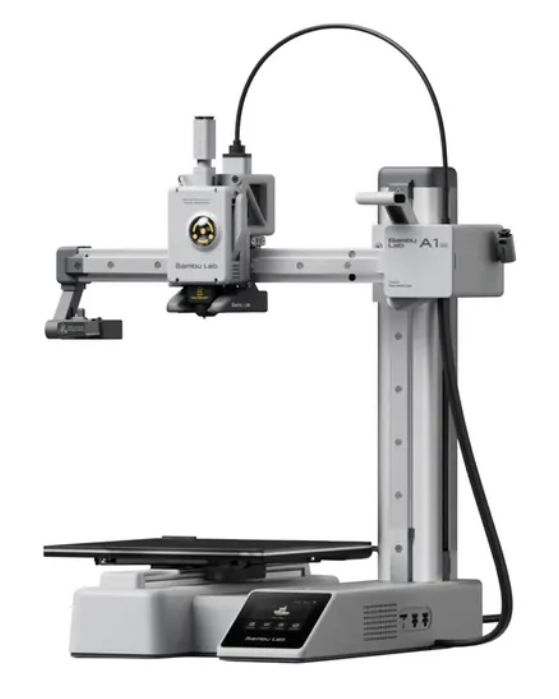
The A1 Mini offers easy Wi-Fi connectivity through its slicer software, features built-in camera monitoring, and is easy to service. It arrives fully assembled and is the least expensive 3D printer we recommend. This is our current top pick for small, budget-friendly printers. (Alternative: Prusa MINI+)
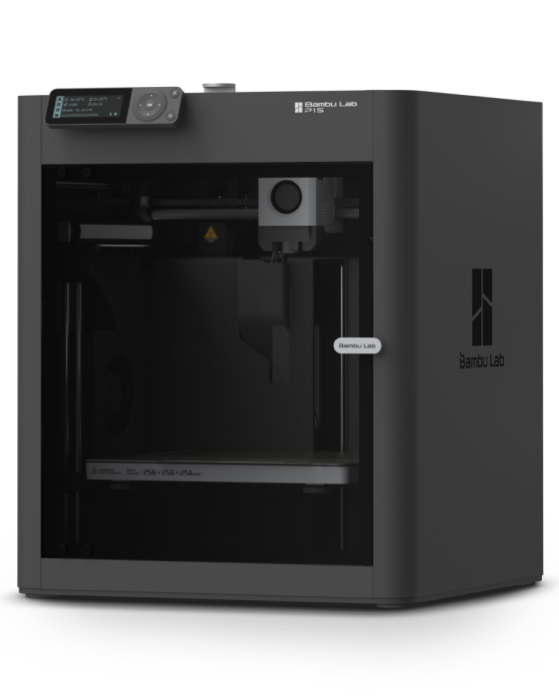
The P1S is a fast, fully featured enclosed printer that is highly affordable. While it is a slightly older model, it remains widely available and is fully supported by Bambu Lab. Like all Bambu Lab printers, it uses their proprietary slicer and prints seamlessly over Wi-Fi. (Alternative: Prusa CORE One+)
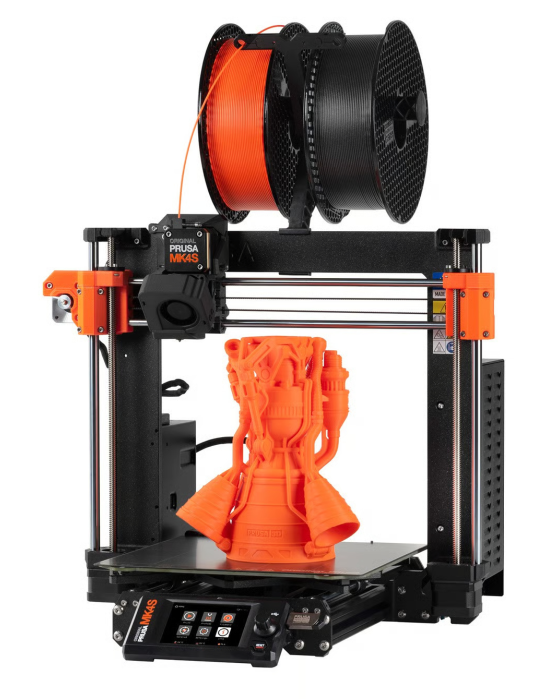
This is the latest iteration of the legendary Prusa i3 printer. It is pricier than the Bambu Lab P1S and features an open design rather than an enclosure, but it boasts exceptional reliability and community support.
Sites like All3DP and Make: Magazine regularly publish "Best of the Year" lists that can help you select the right 3D printer for your specific use case.
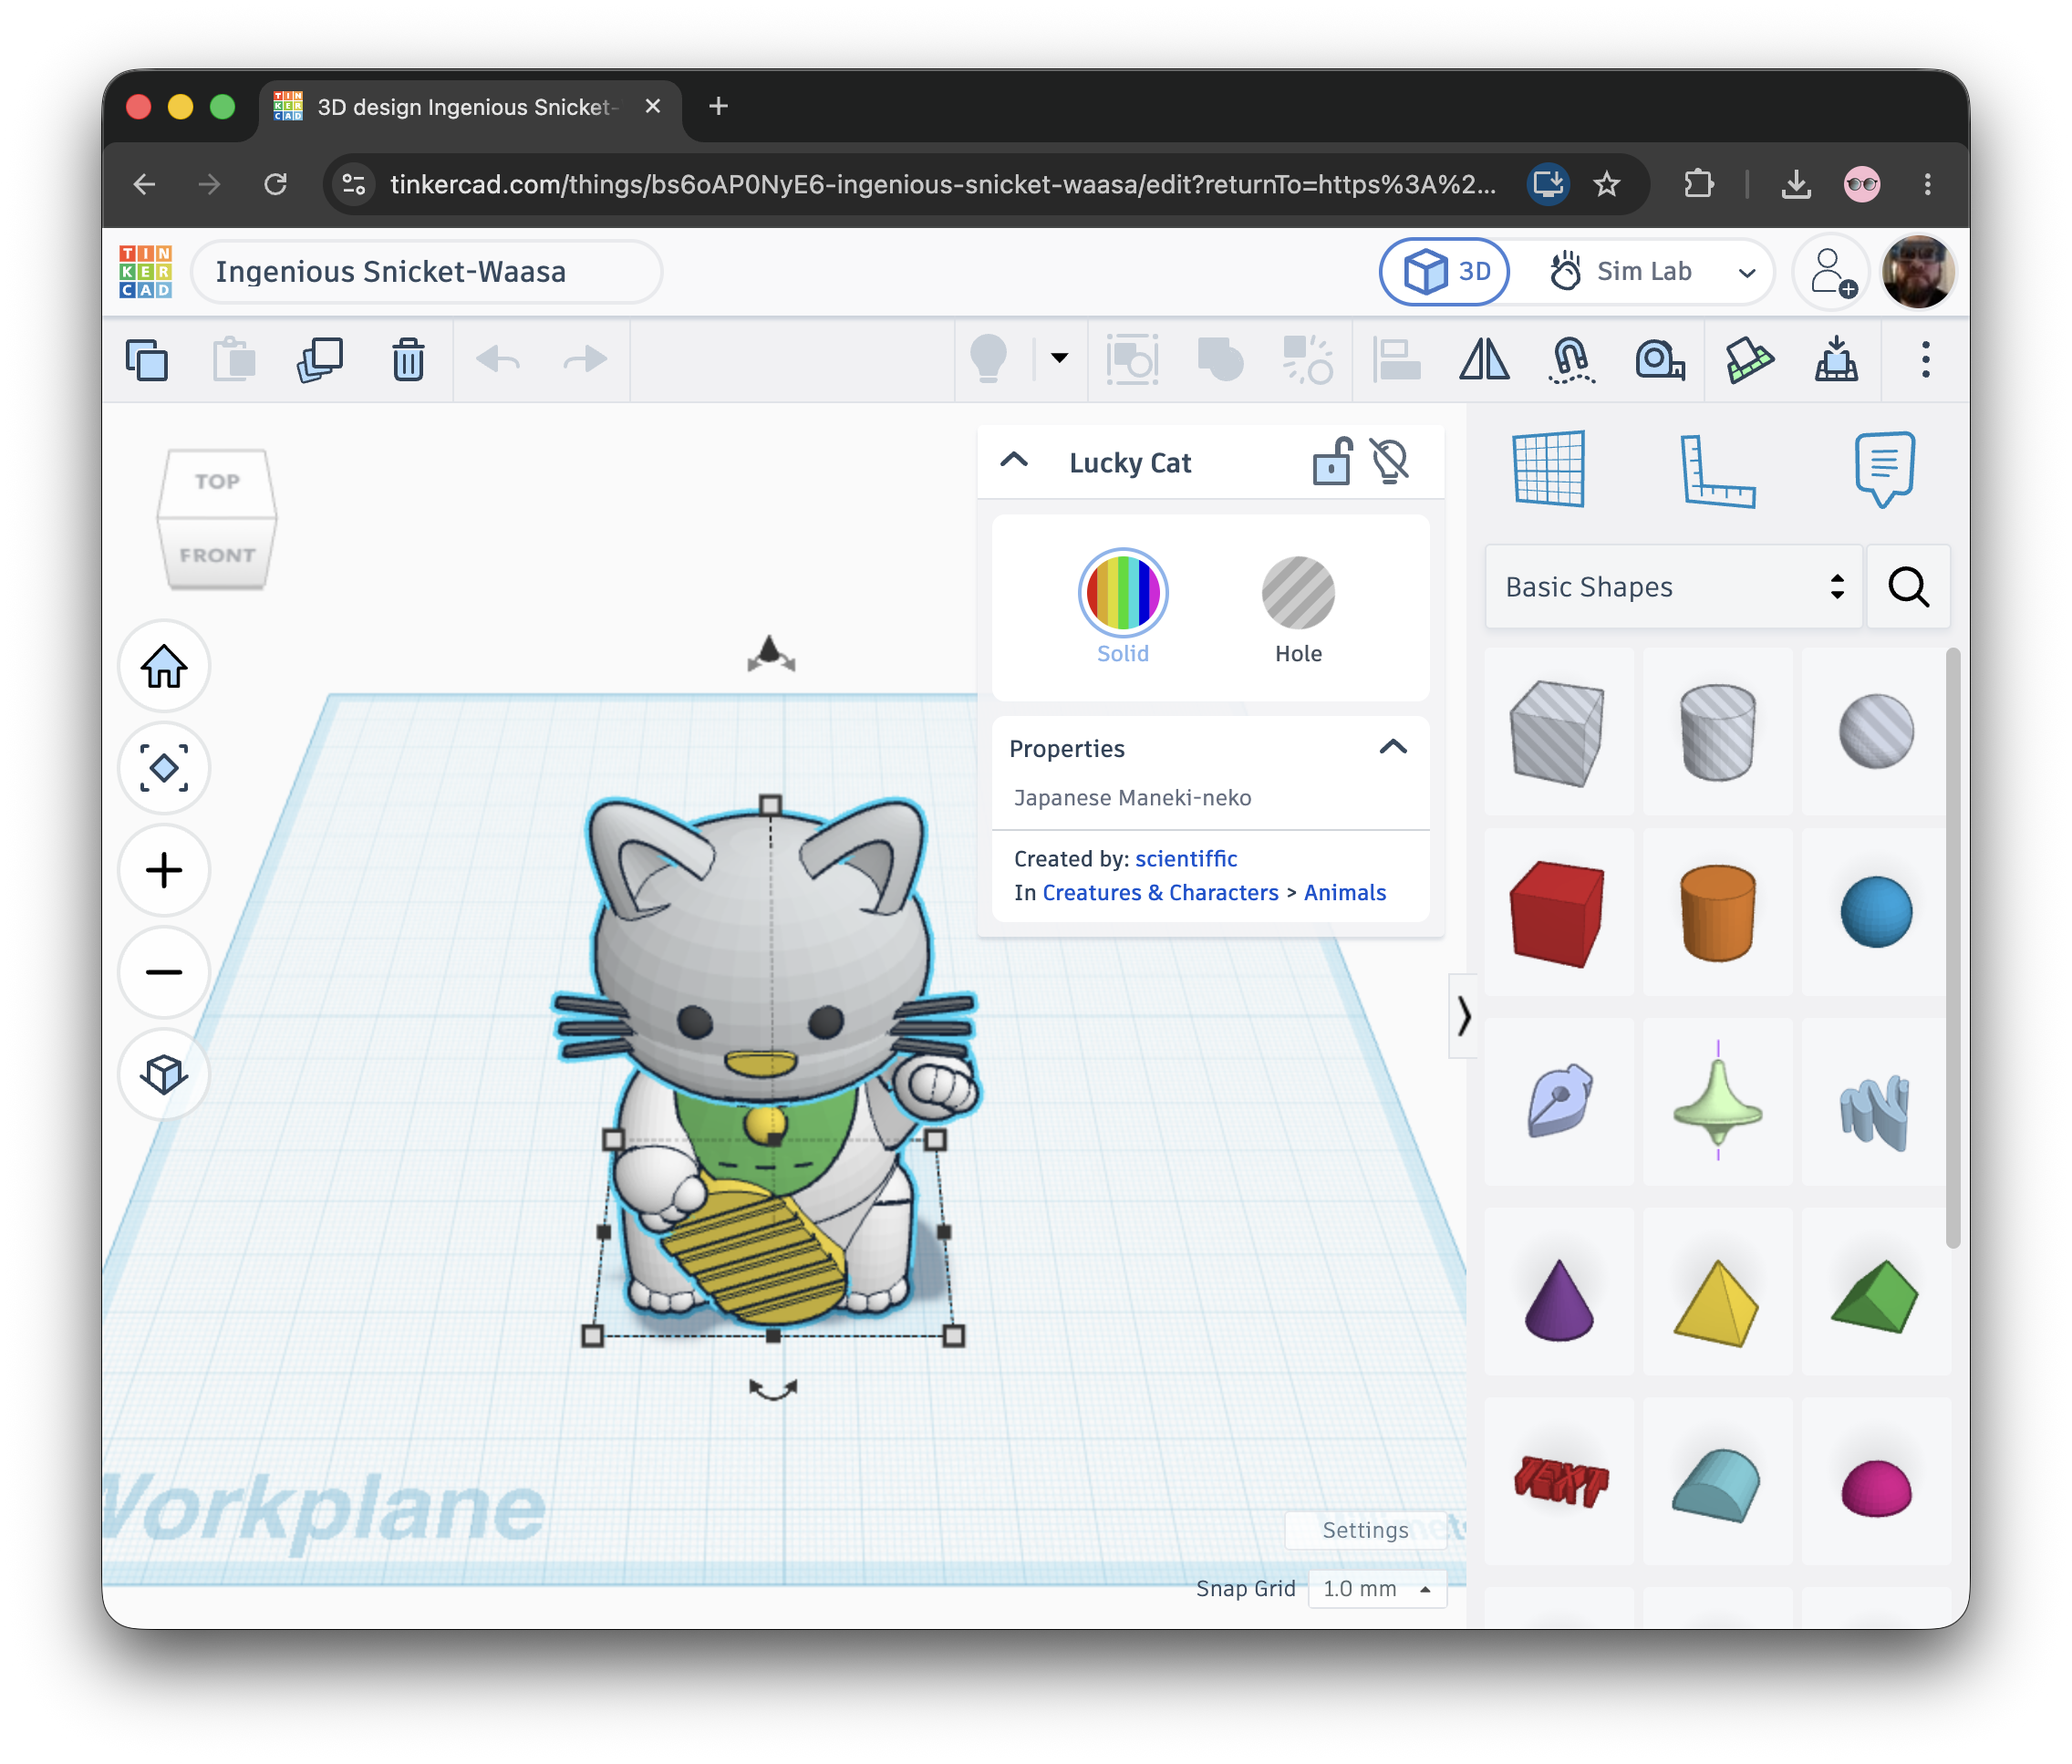
Developed by Autodesk, this online platform is the gold standard for accessible, K-12-friendly 3D design. It is the perfect starting place for beginners.
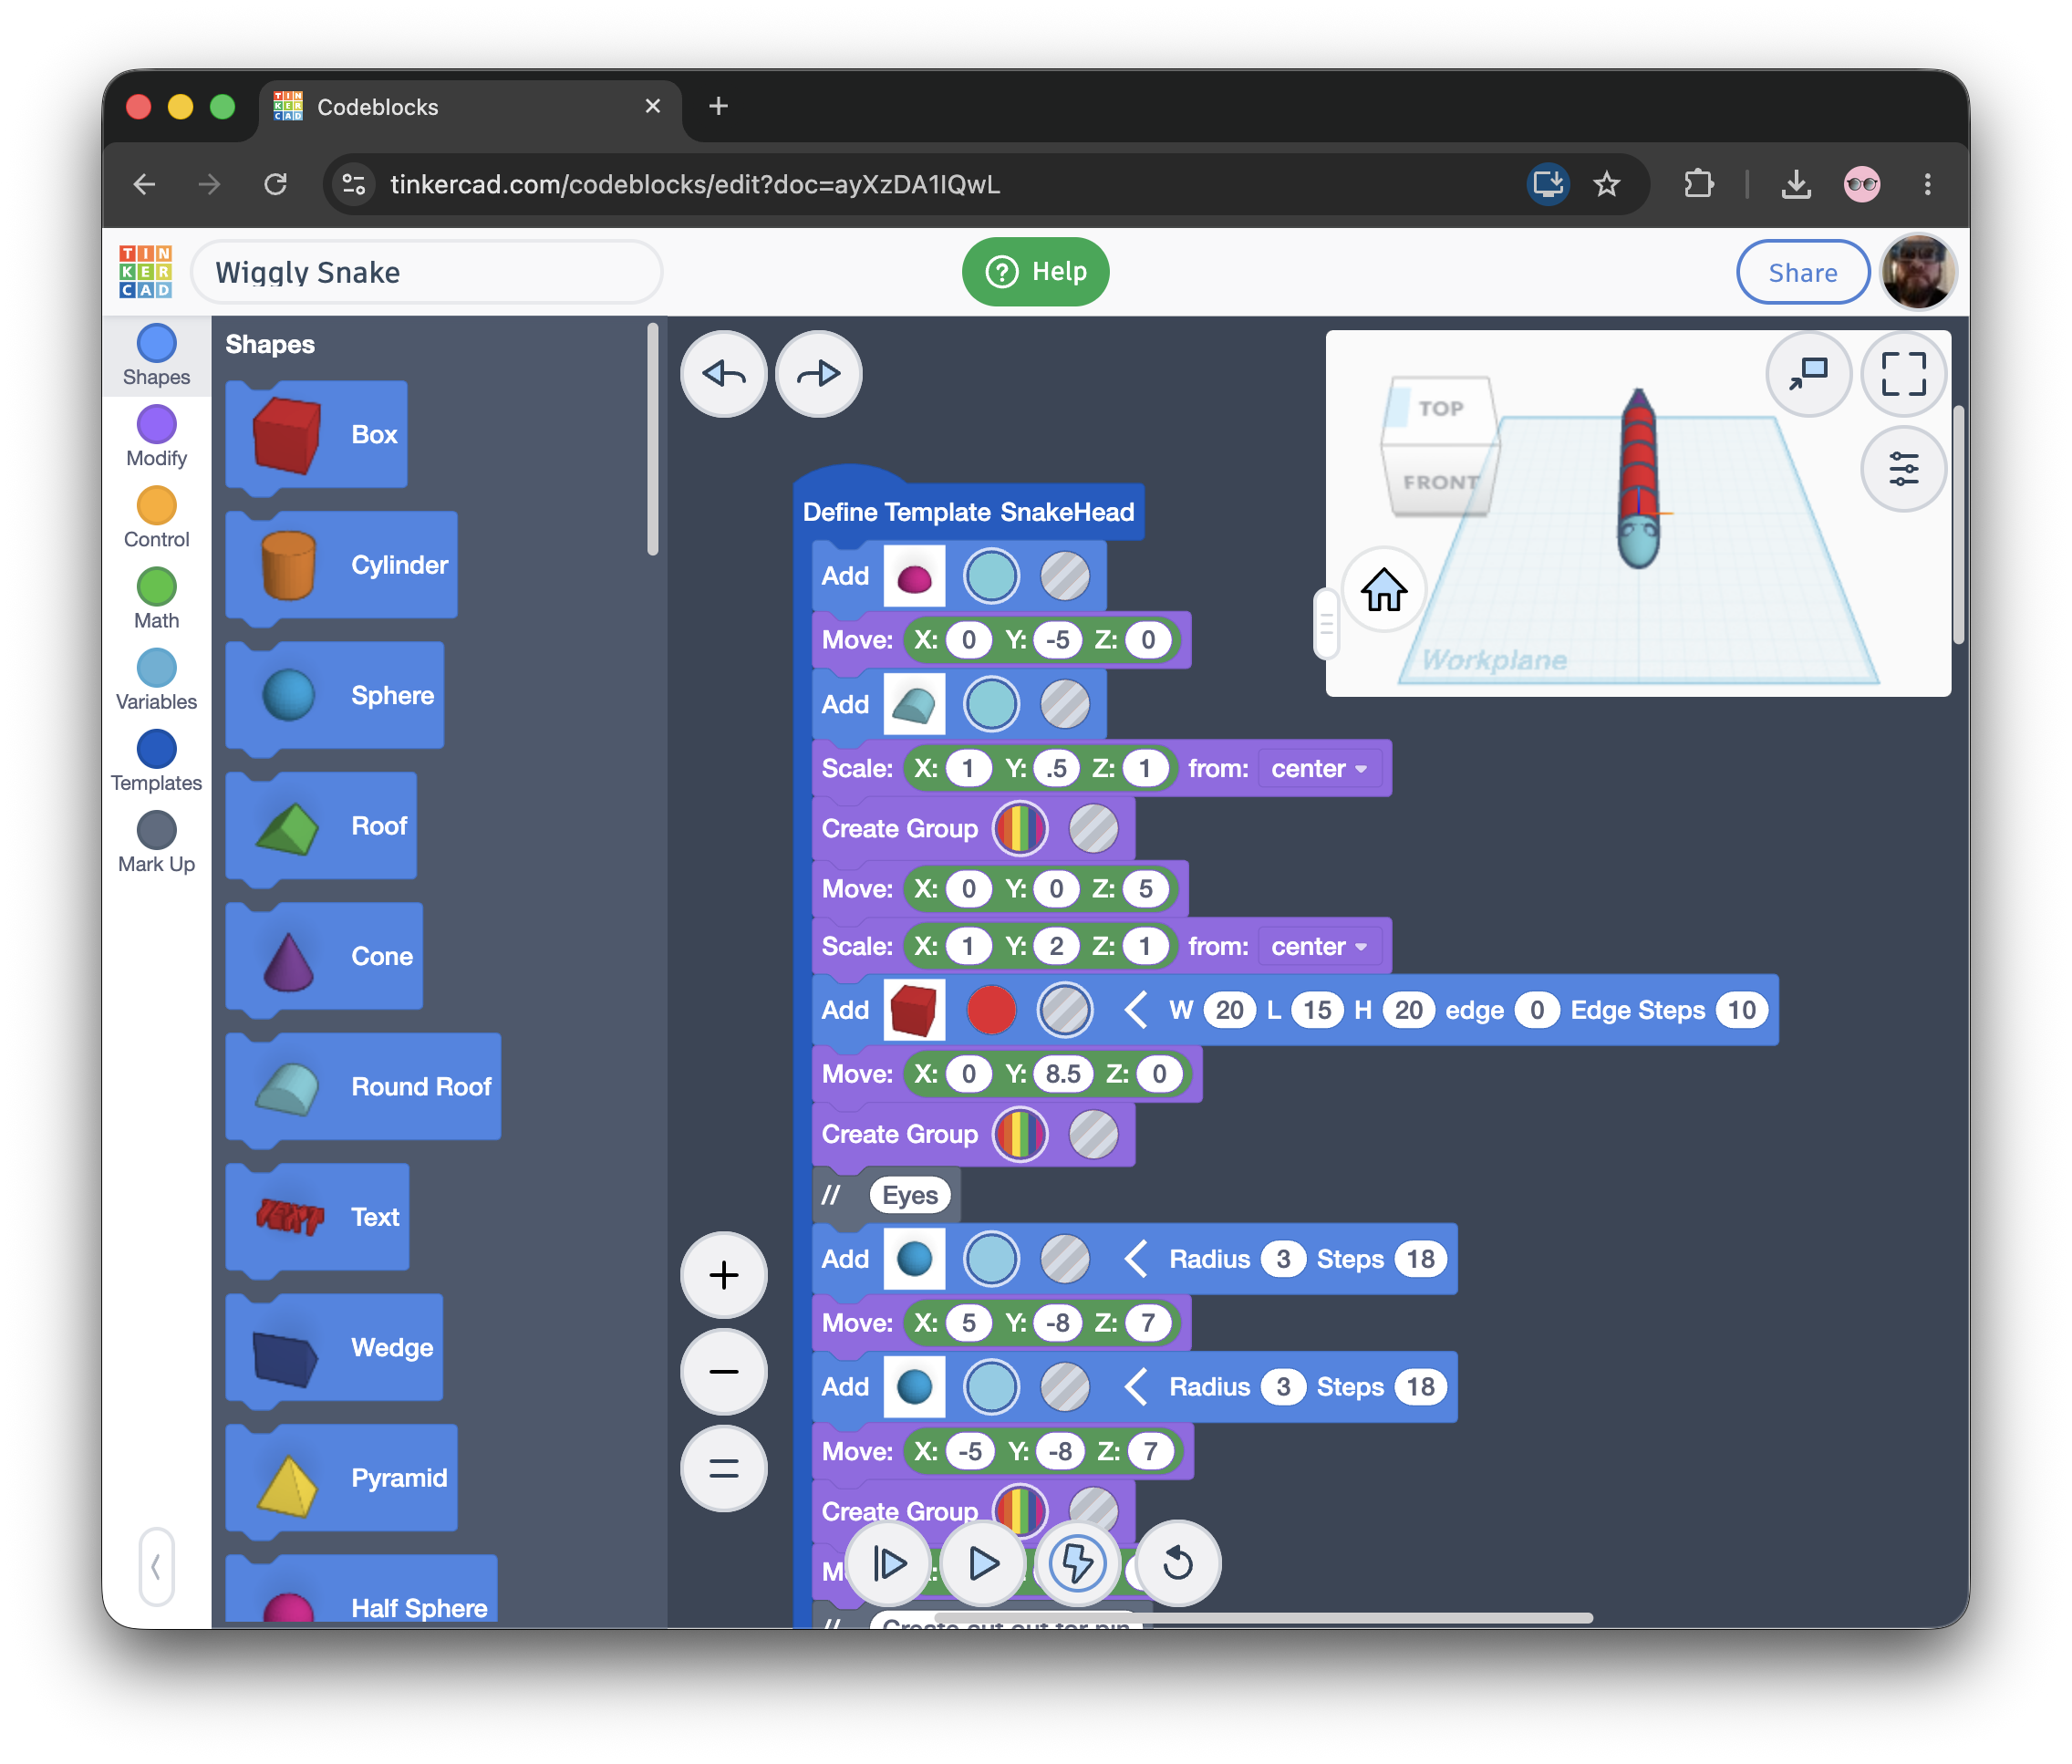
Built into Tinkercad, Codeblocks allows users to create 3D models using block-based coding.
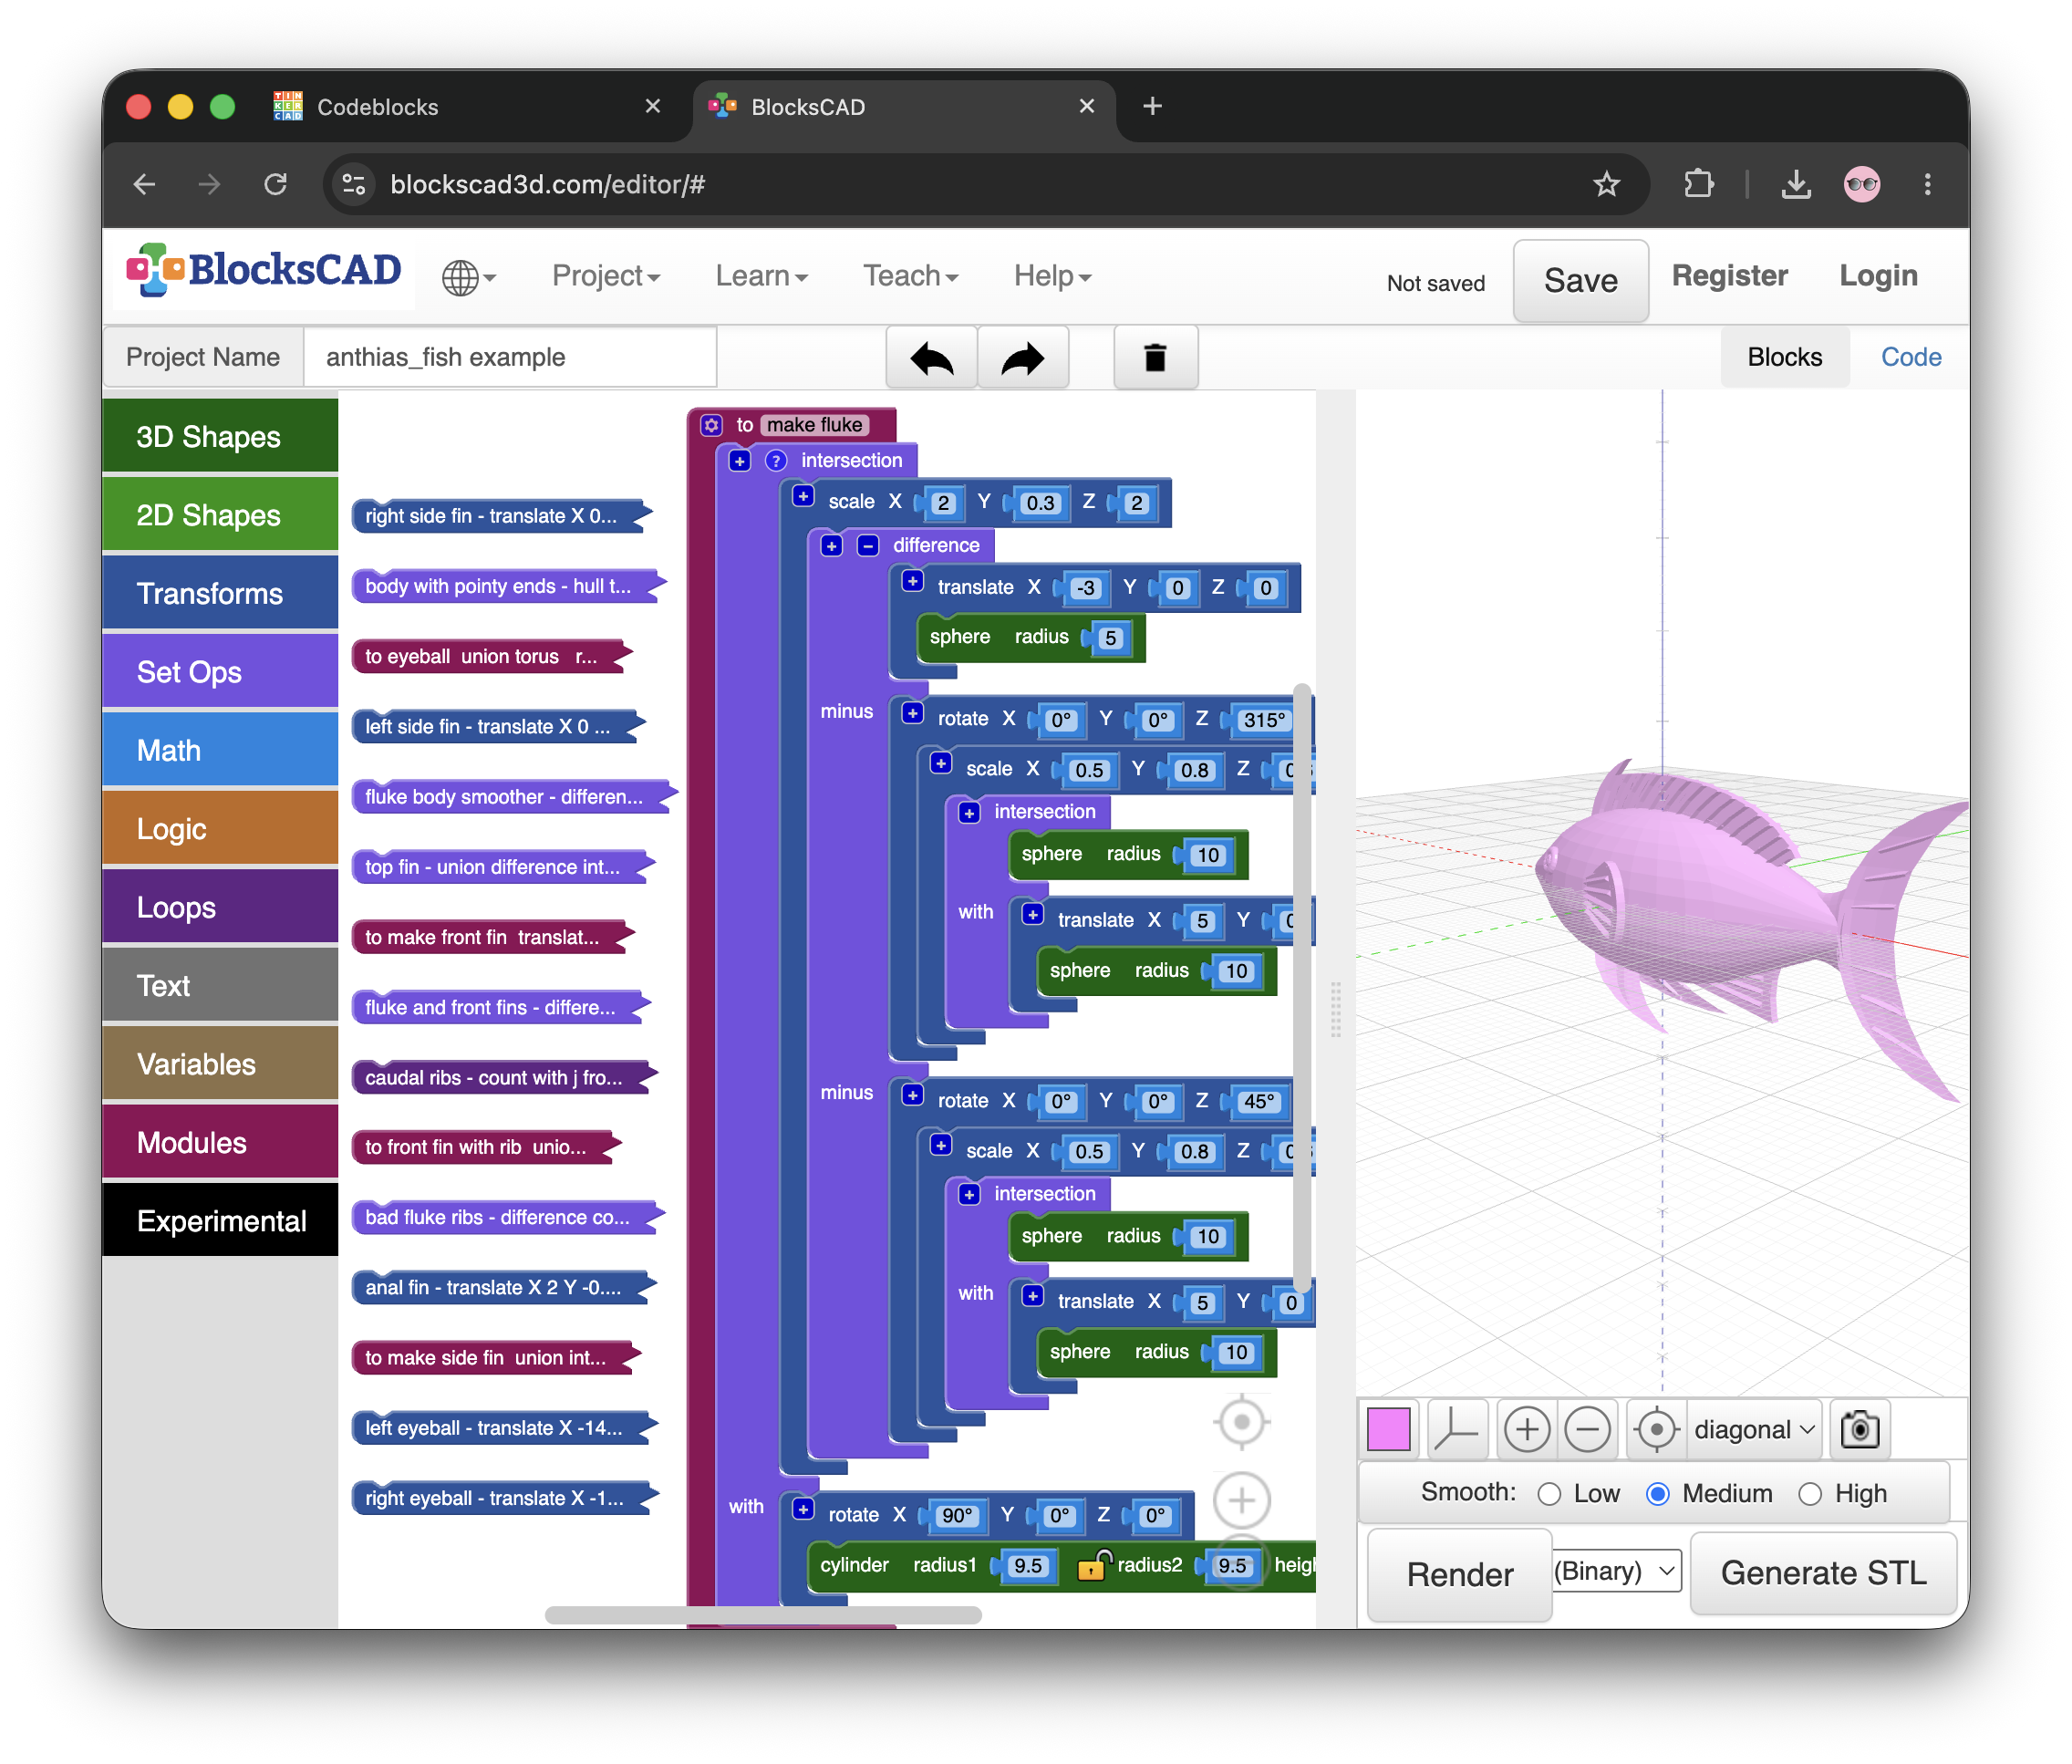
This offers more robust block-based coding for 3D modeling; it does not include typical visual modeling tools.
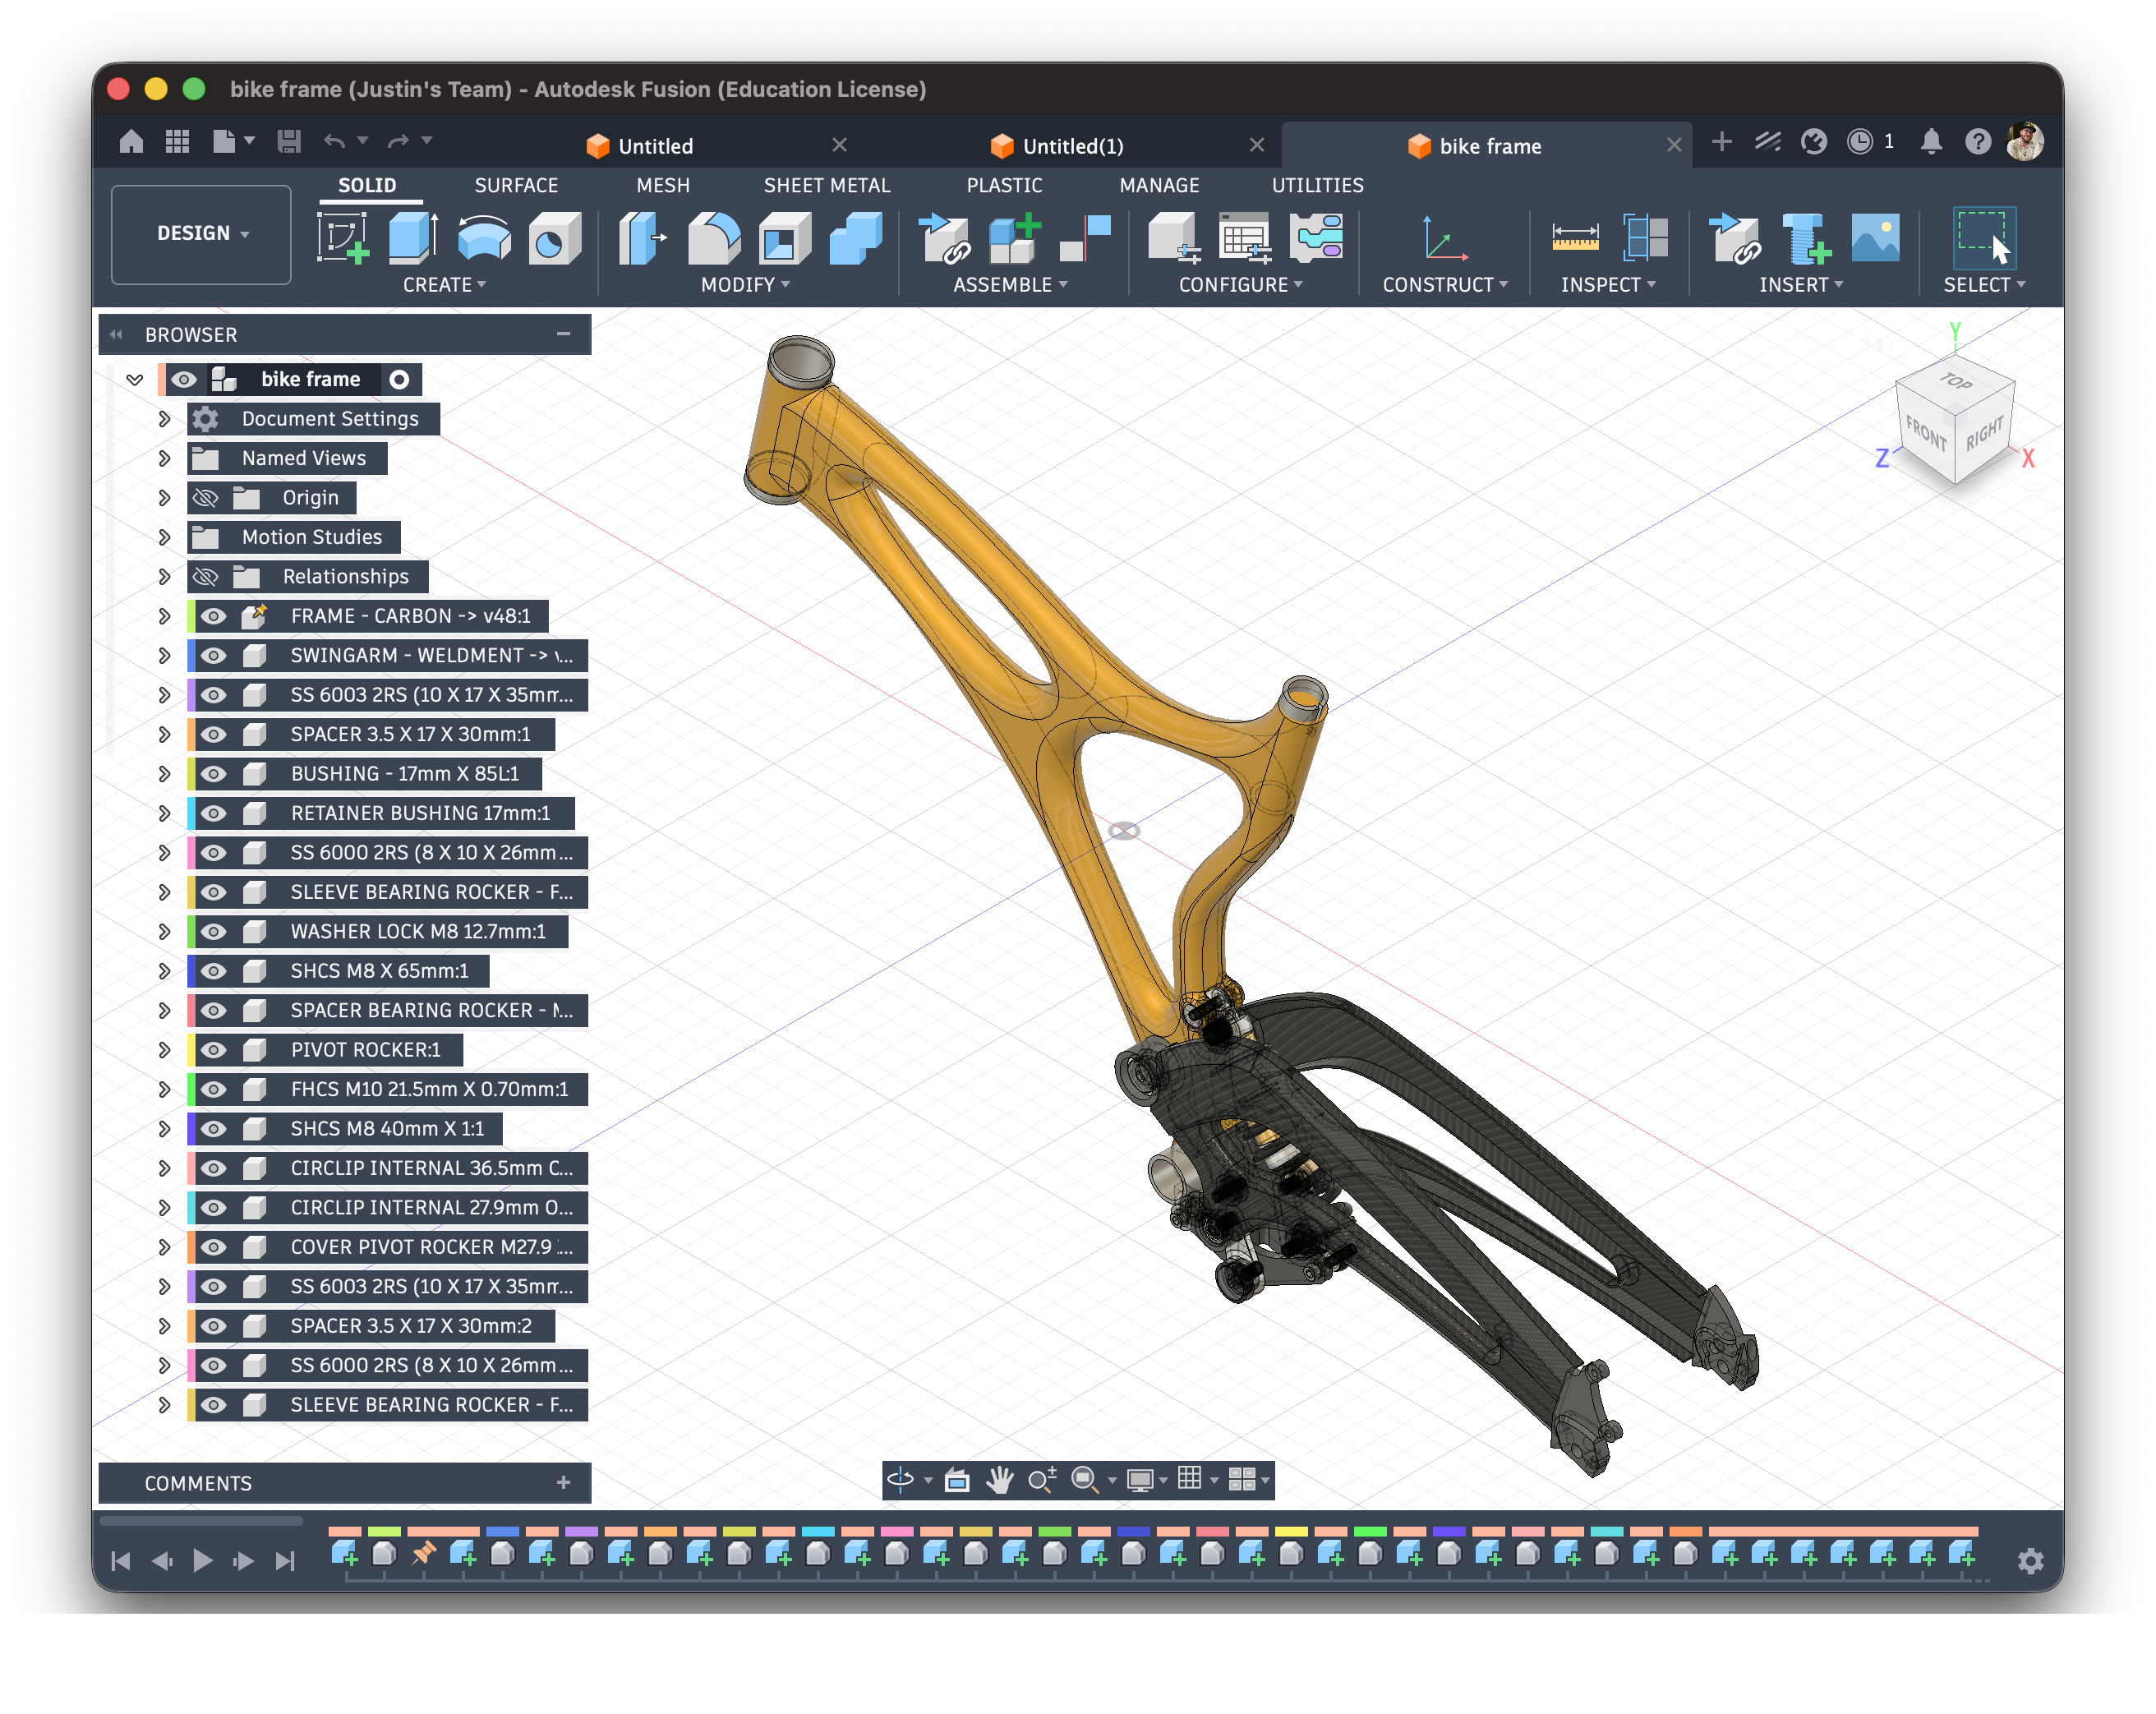
Autodesk's flagship desktop software for professional 3D modeling. It is free for students and educators.
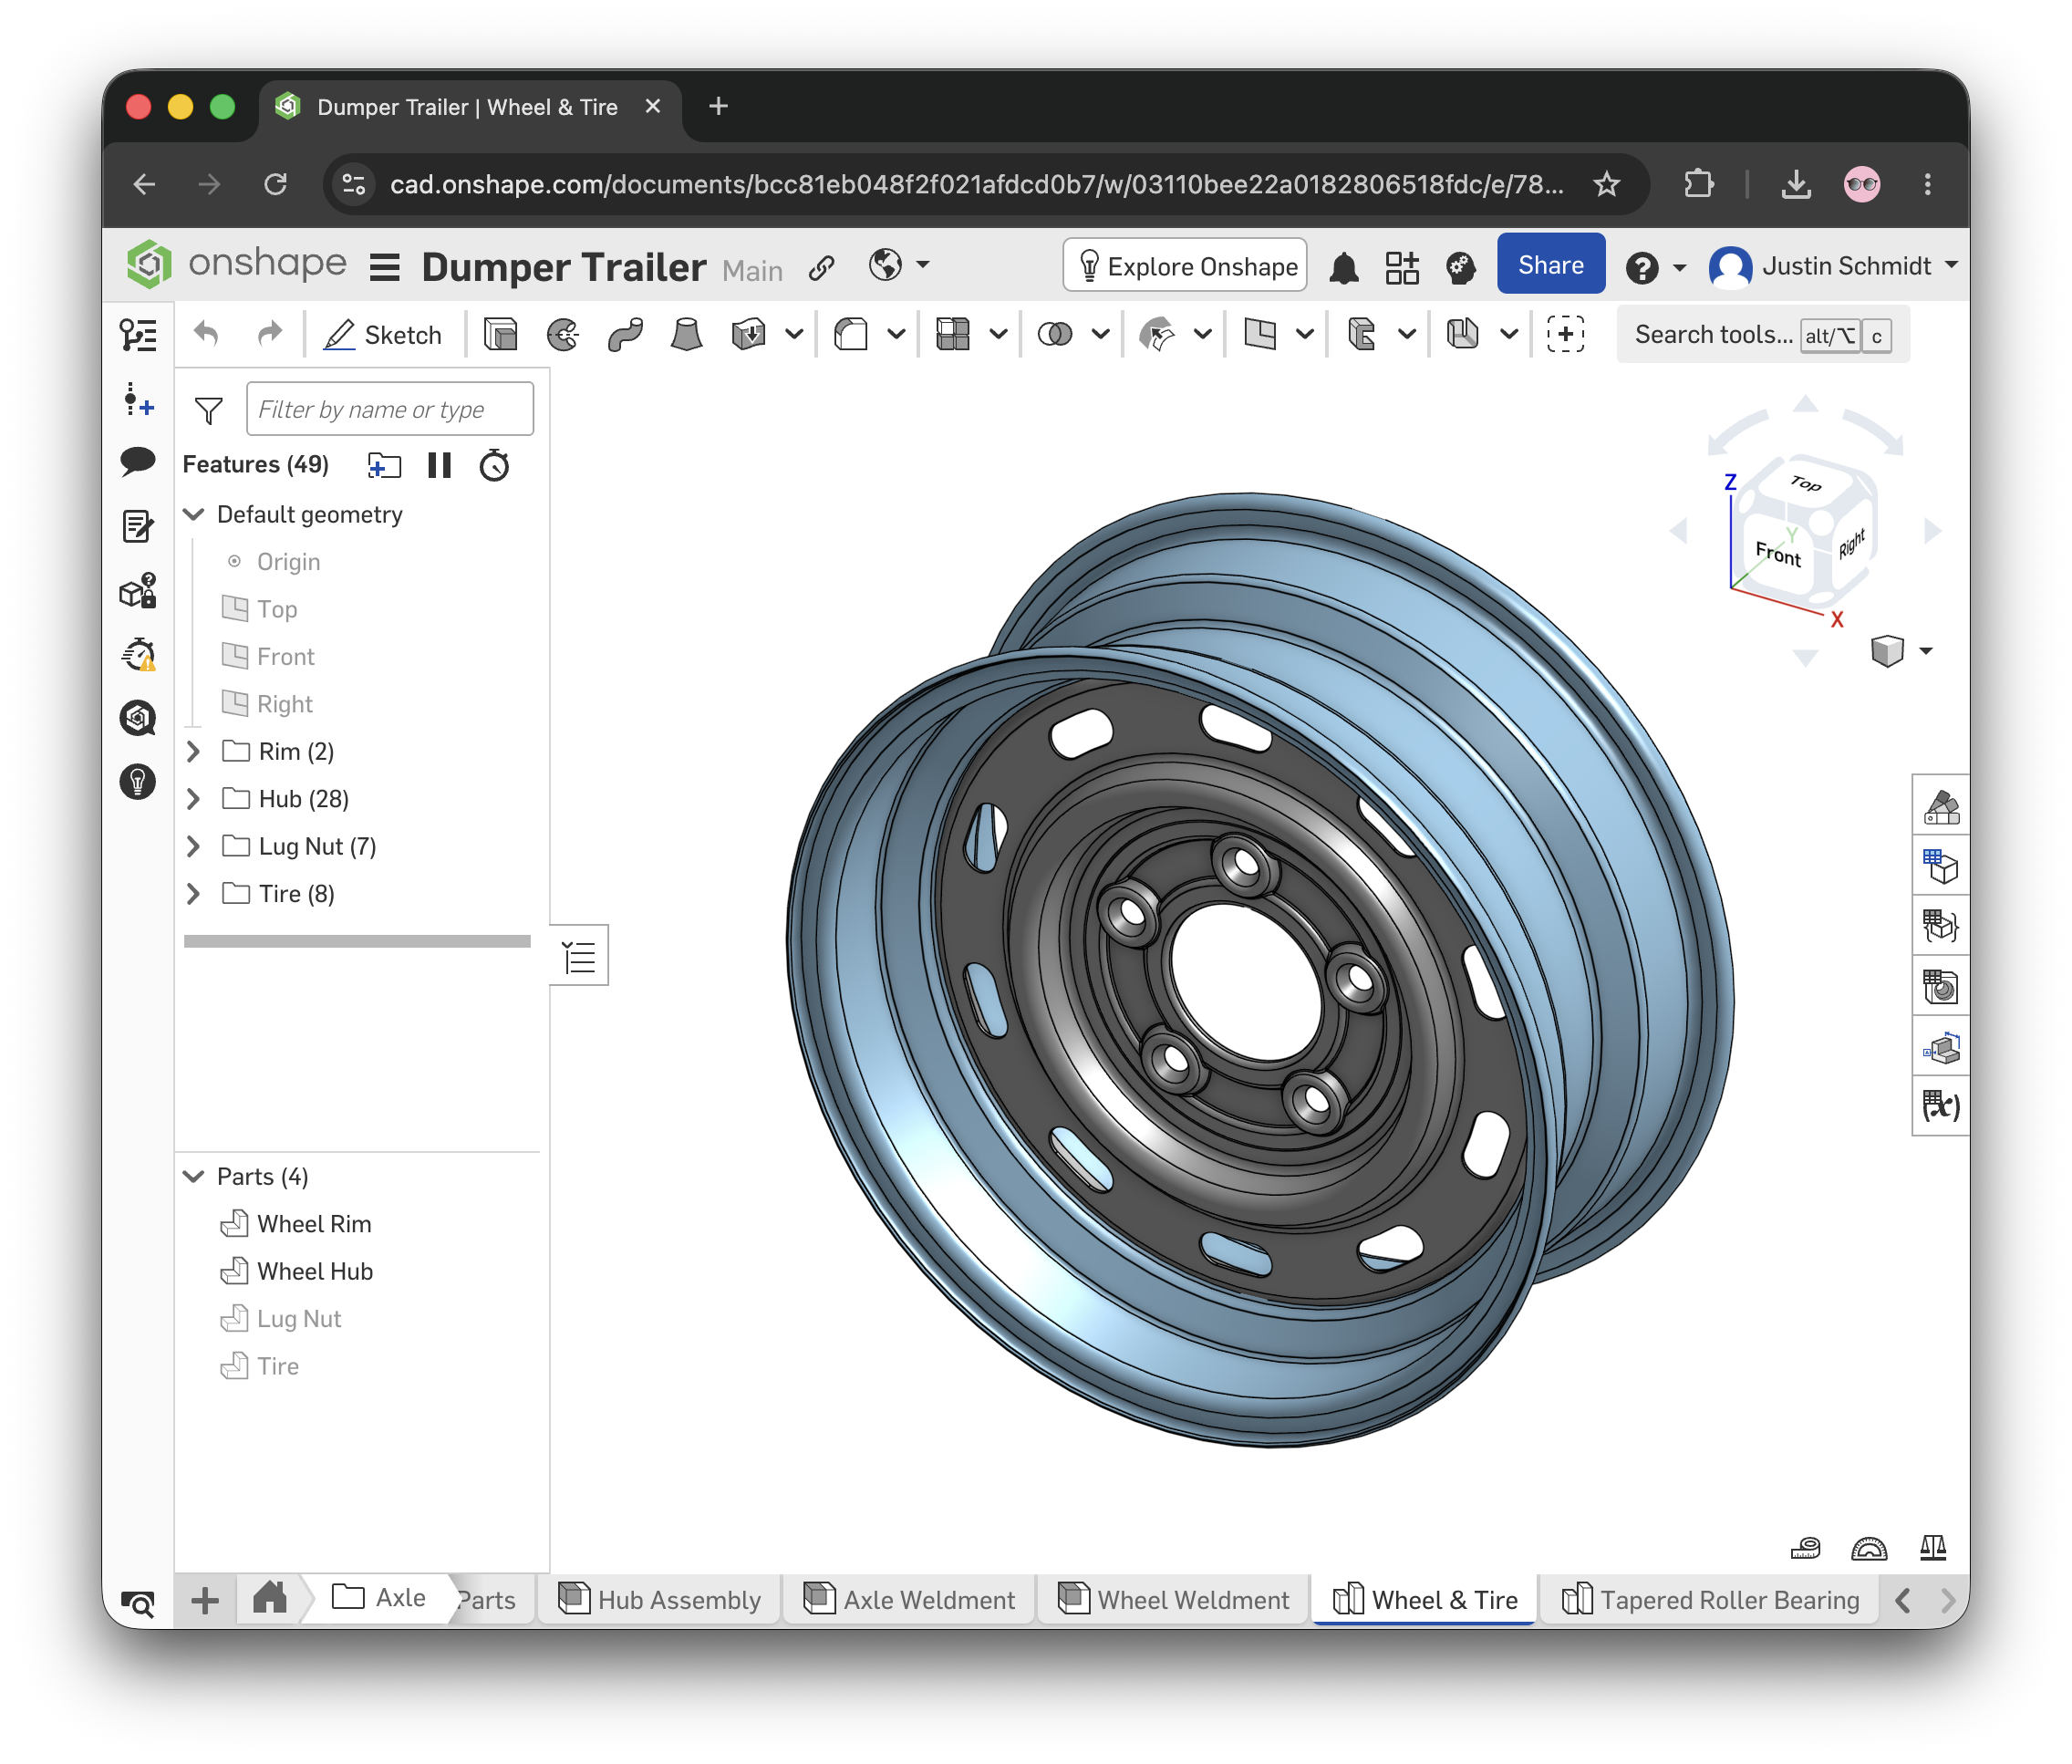
A powerful, browser-based CAD suite that rivals Fusion and other desktop applications in capabilities, offered free for educational use.
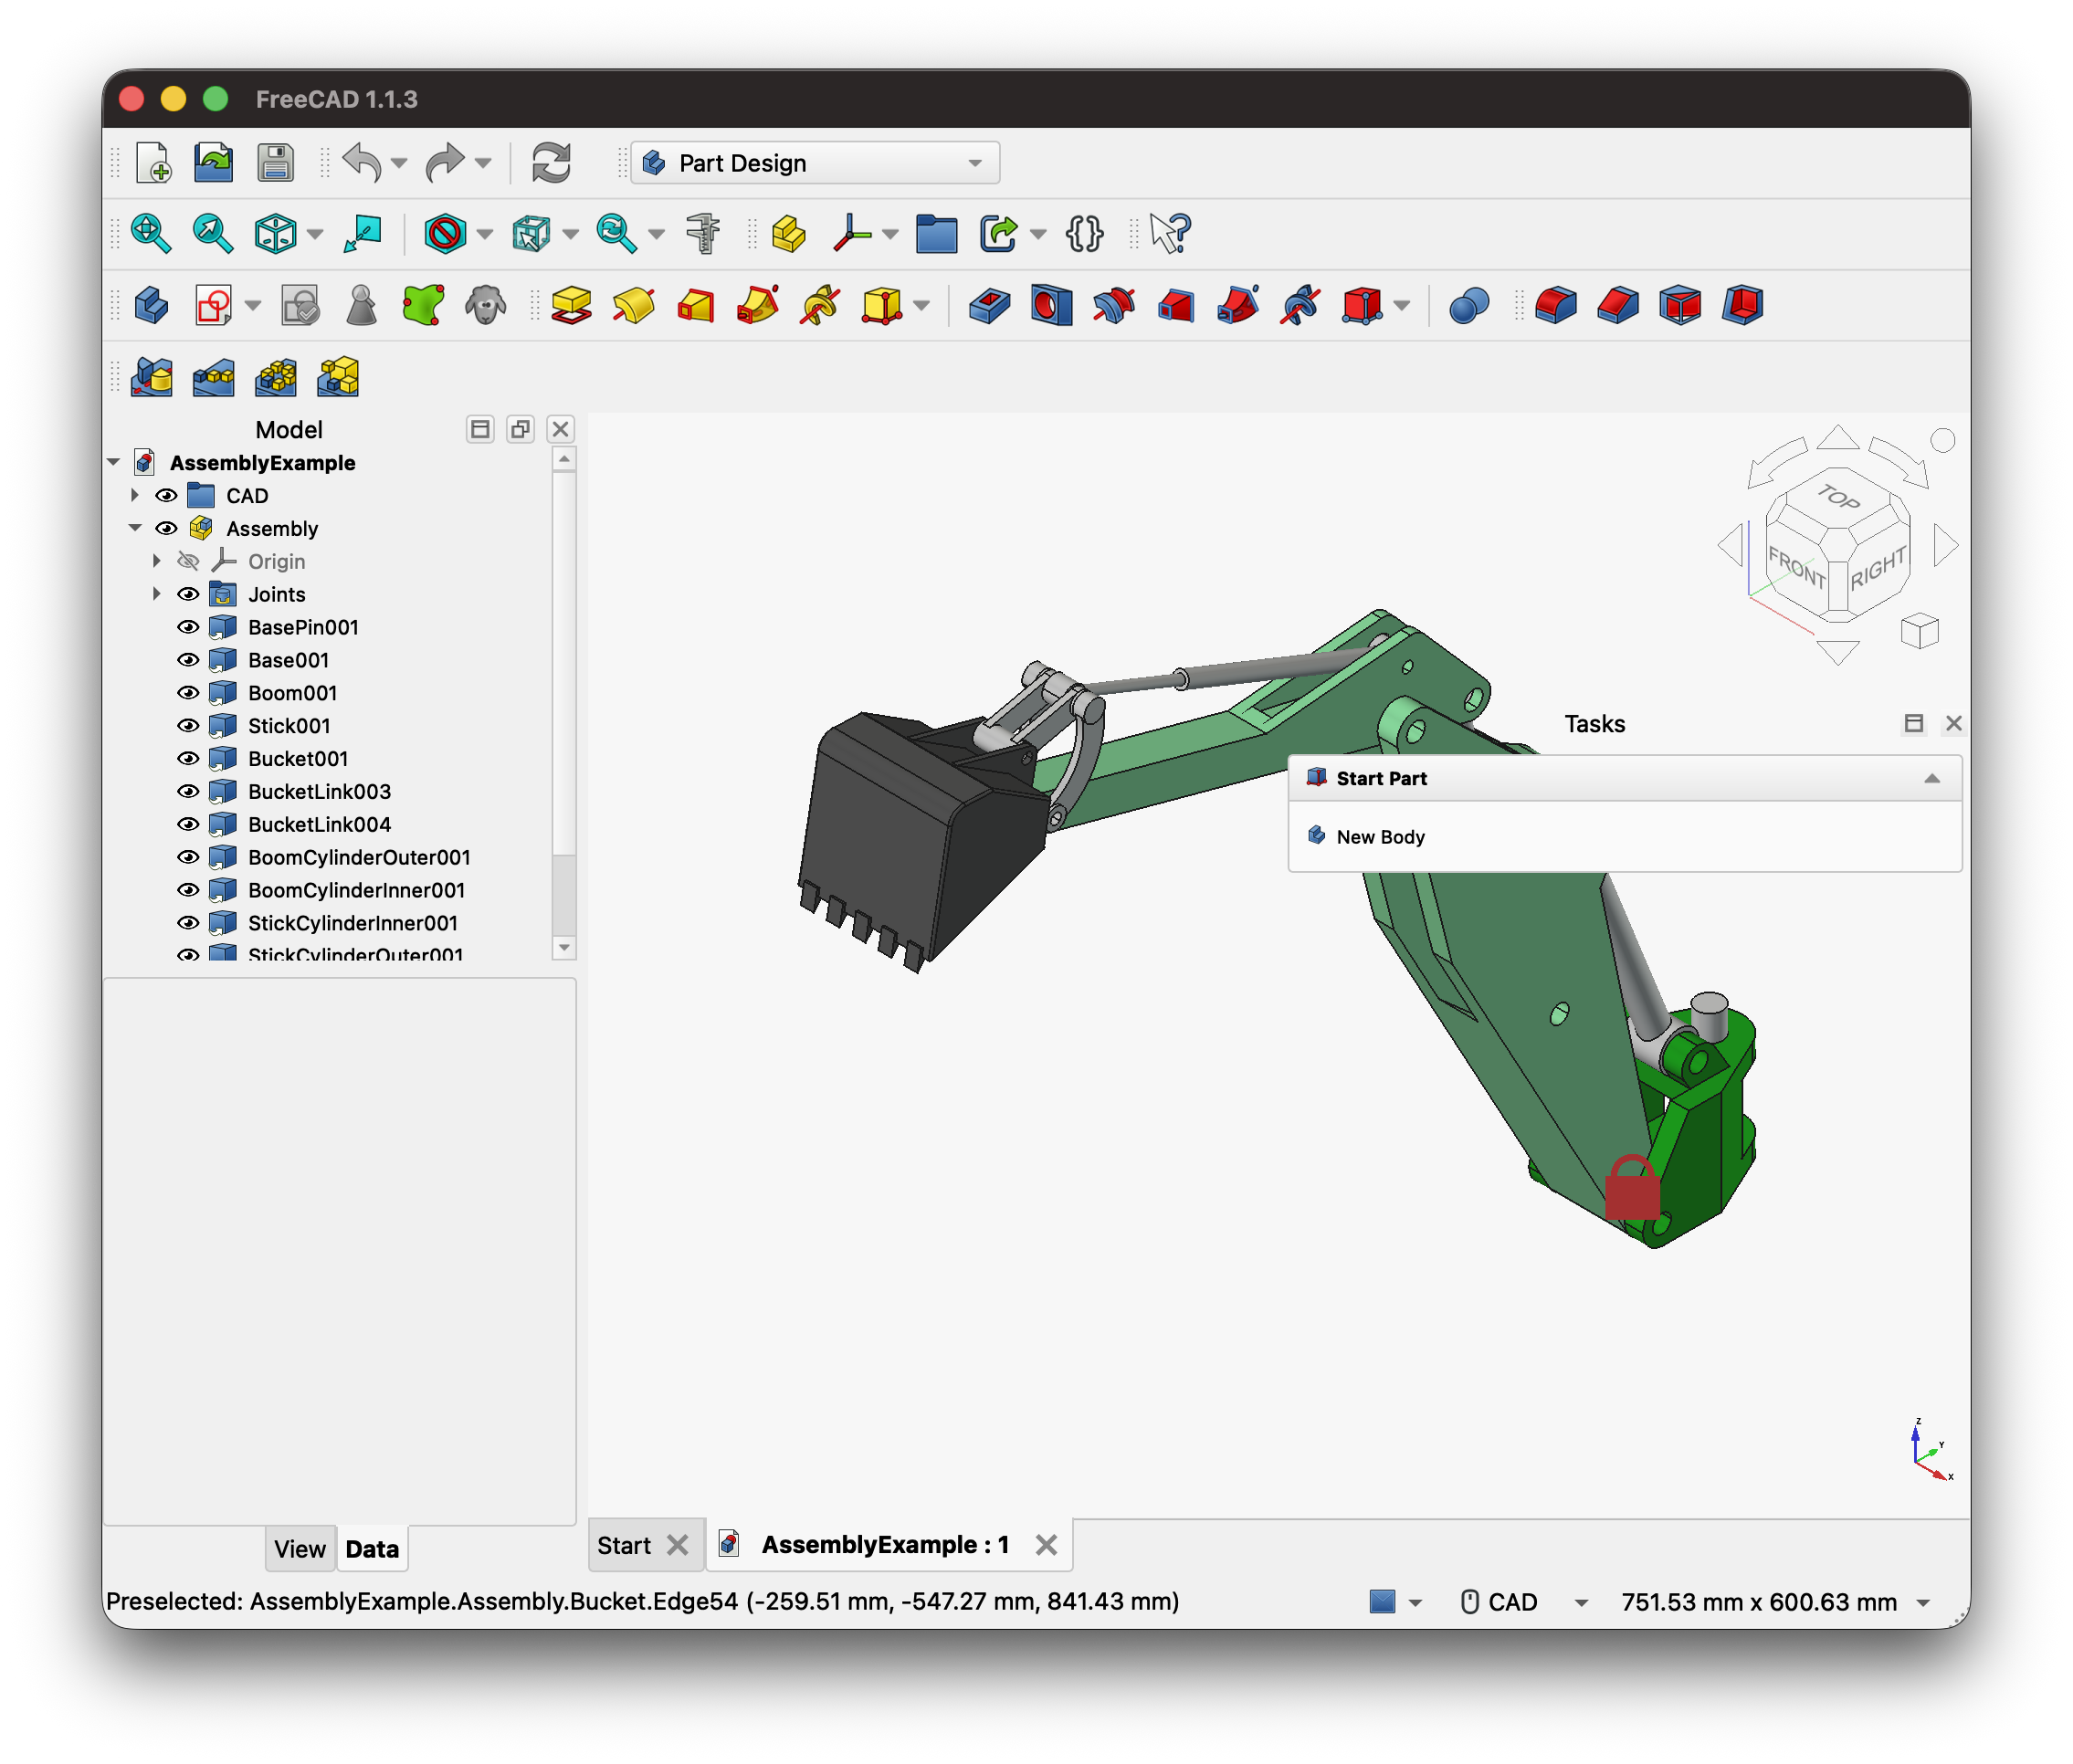
A highly capable, open-source, and free desktop professional-level CAD software.
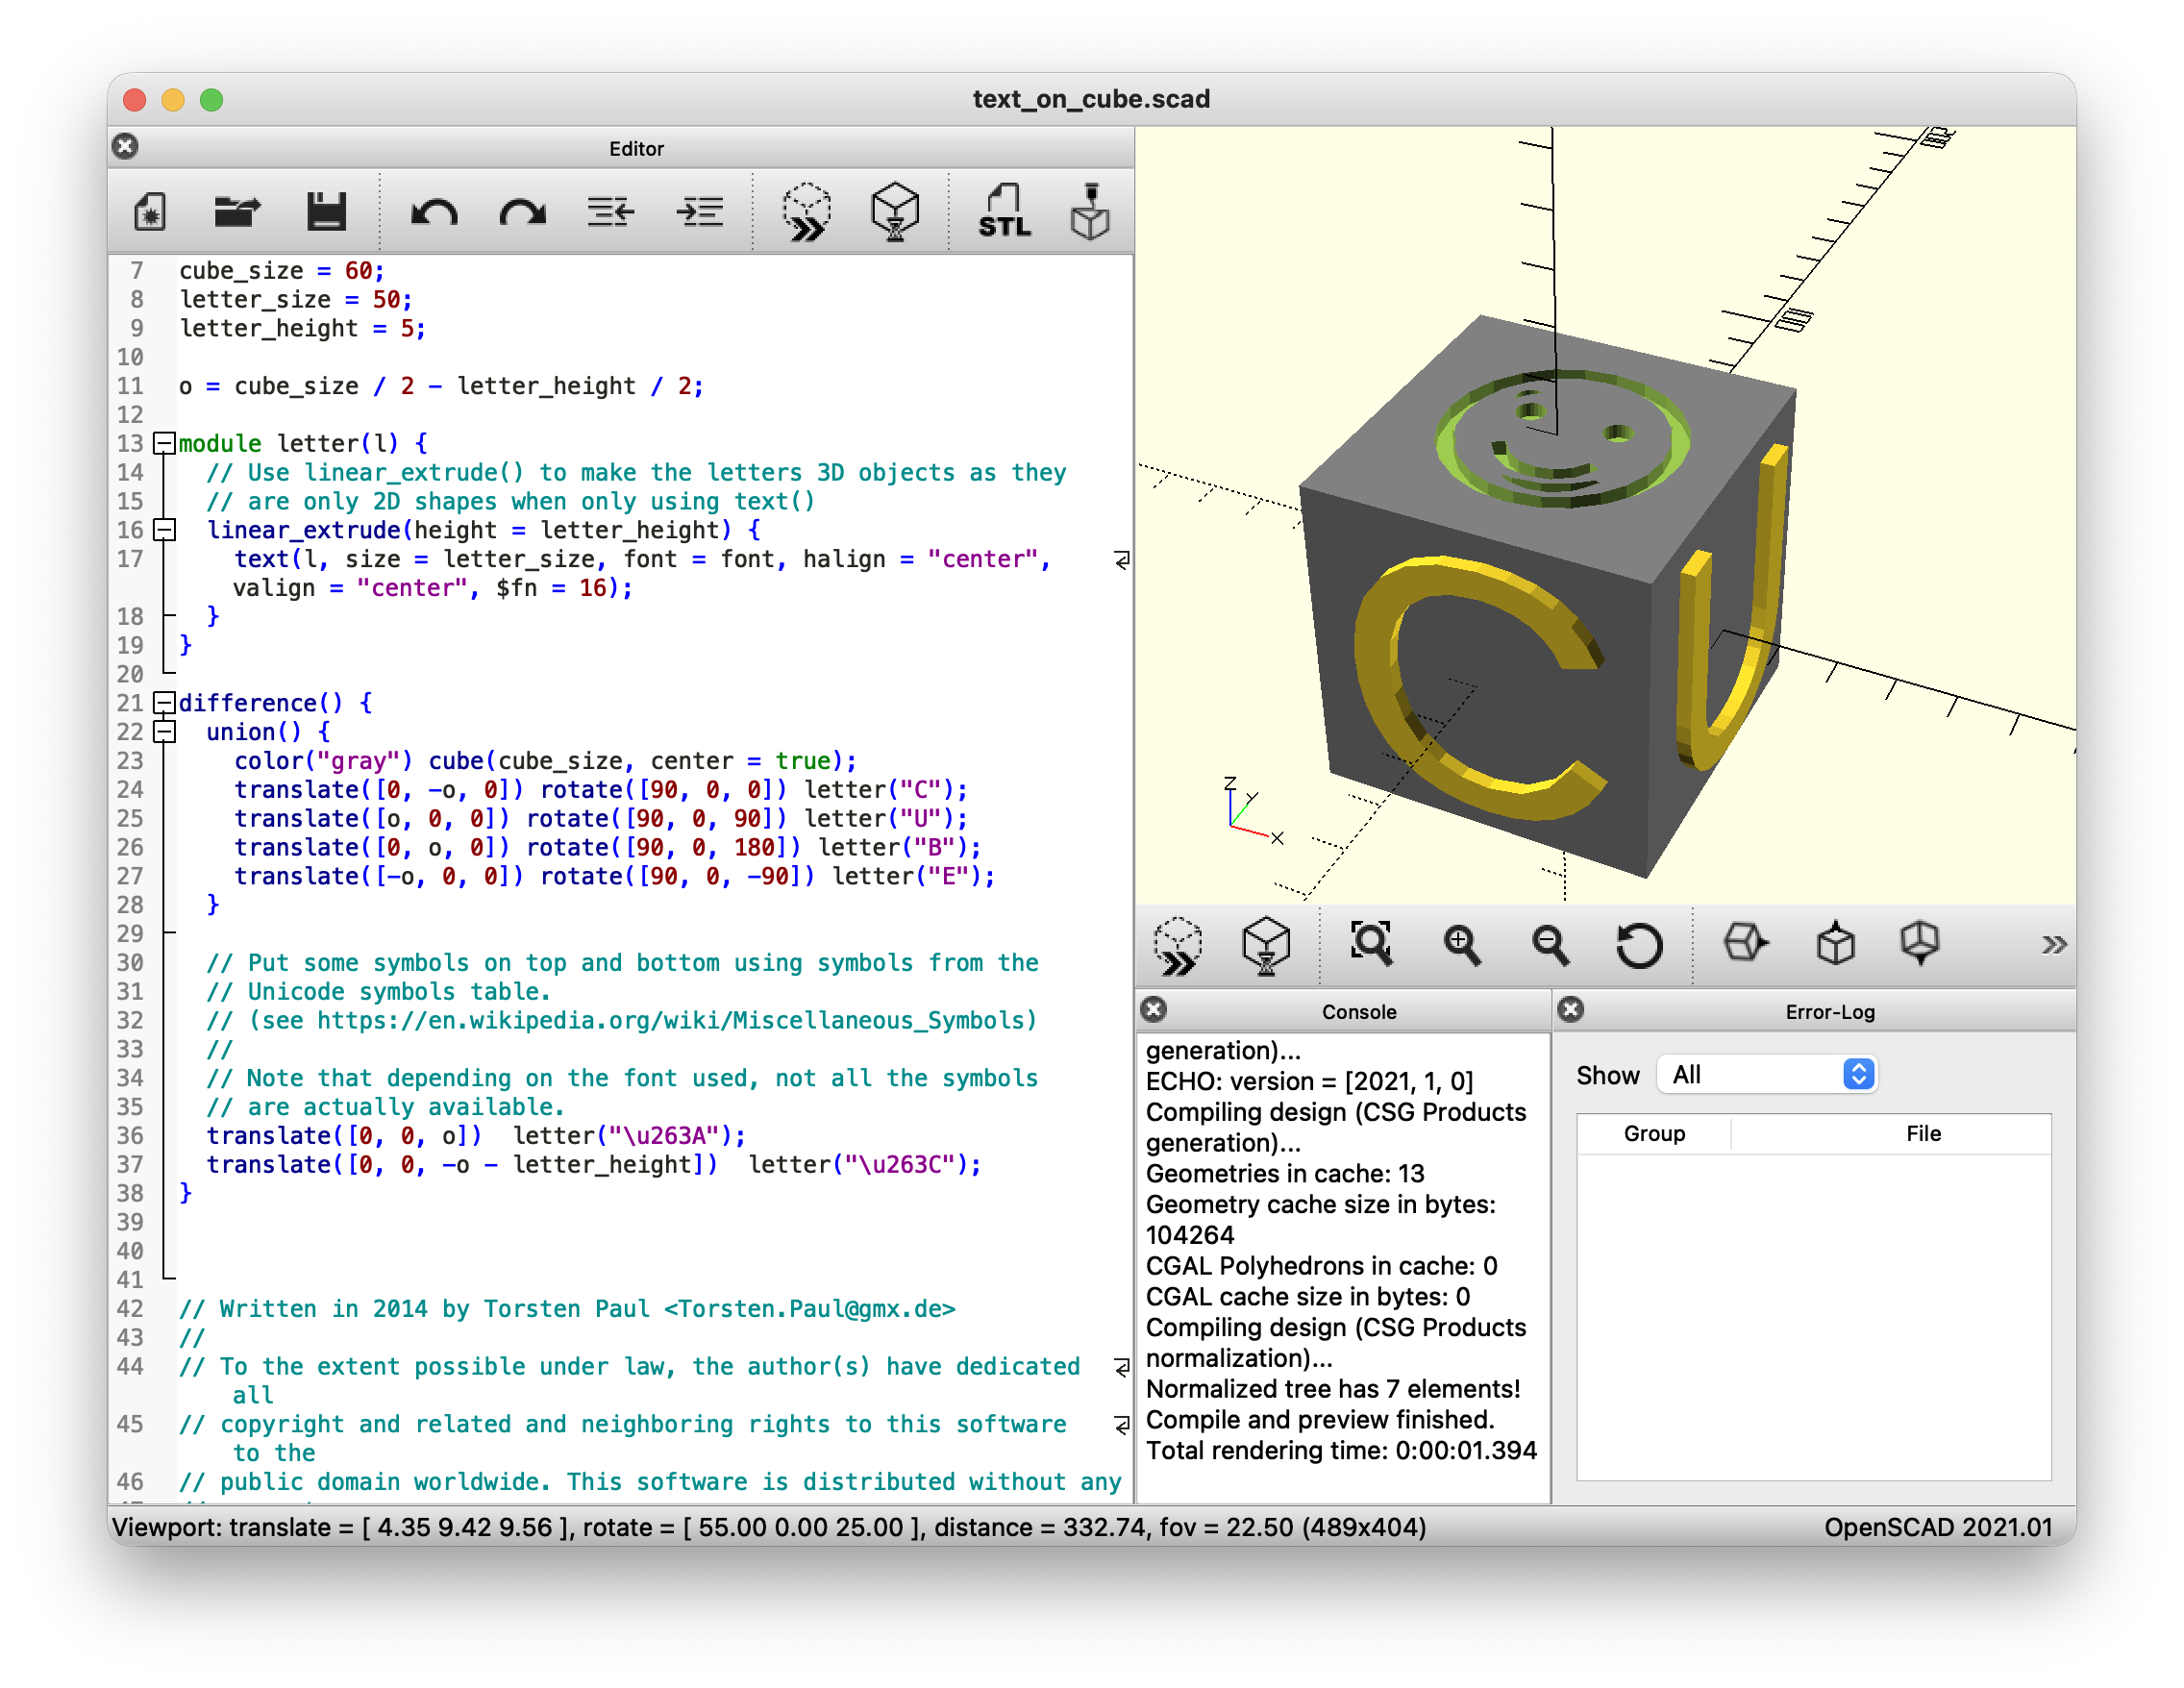
An open-source, code-based CAD software intended for creating solid 3D CAD models.
Many 3D printer manufacturers host their own sites where people can post, download, remix and comment on their 3D modeling projects. Most of these sites are mostly safe viewing for school, but with all user-generated content there can be instances of explicit models appearing in search results. Use caution when directing your students to use these sites. These can be useful for finding models to remix or to use for teaching 3D printing workflows. Most educators implement rules around when students can and cannot print or remix preexisting models.
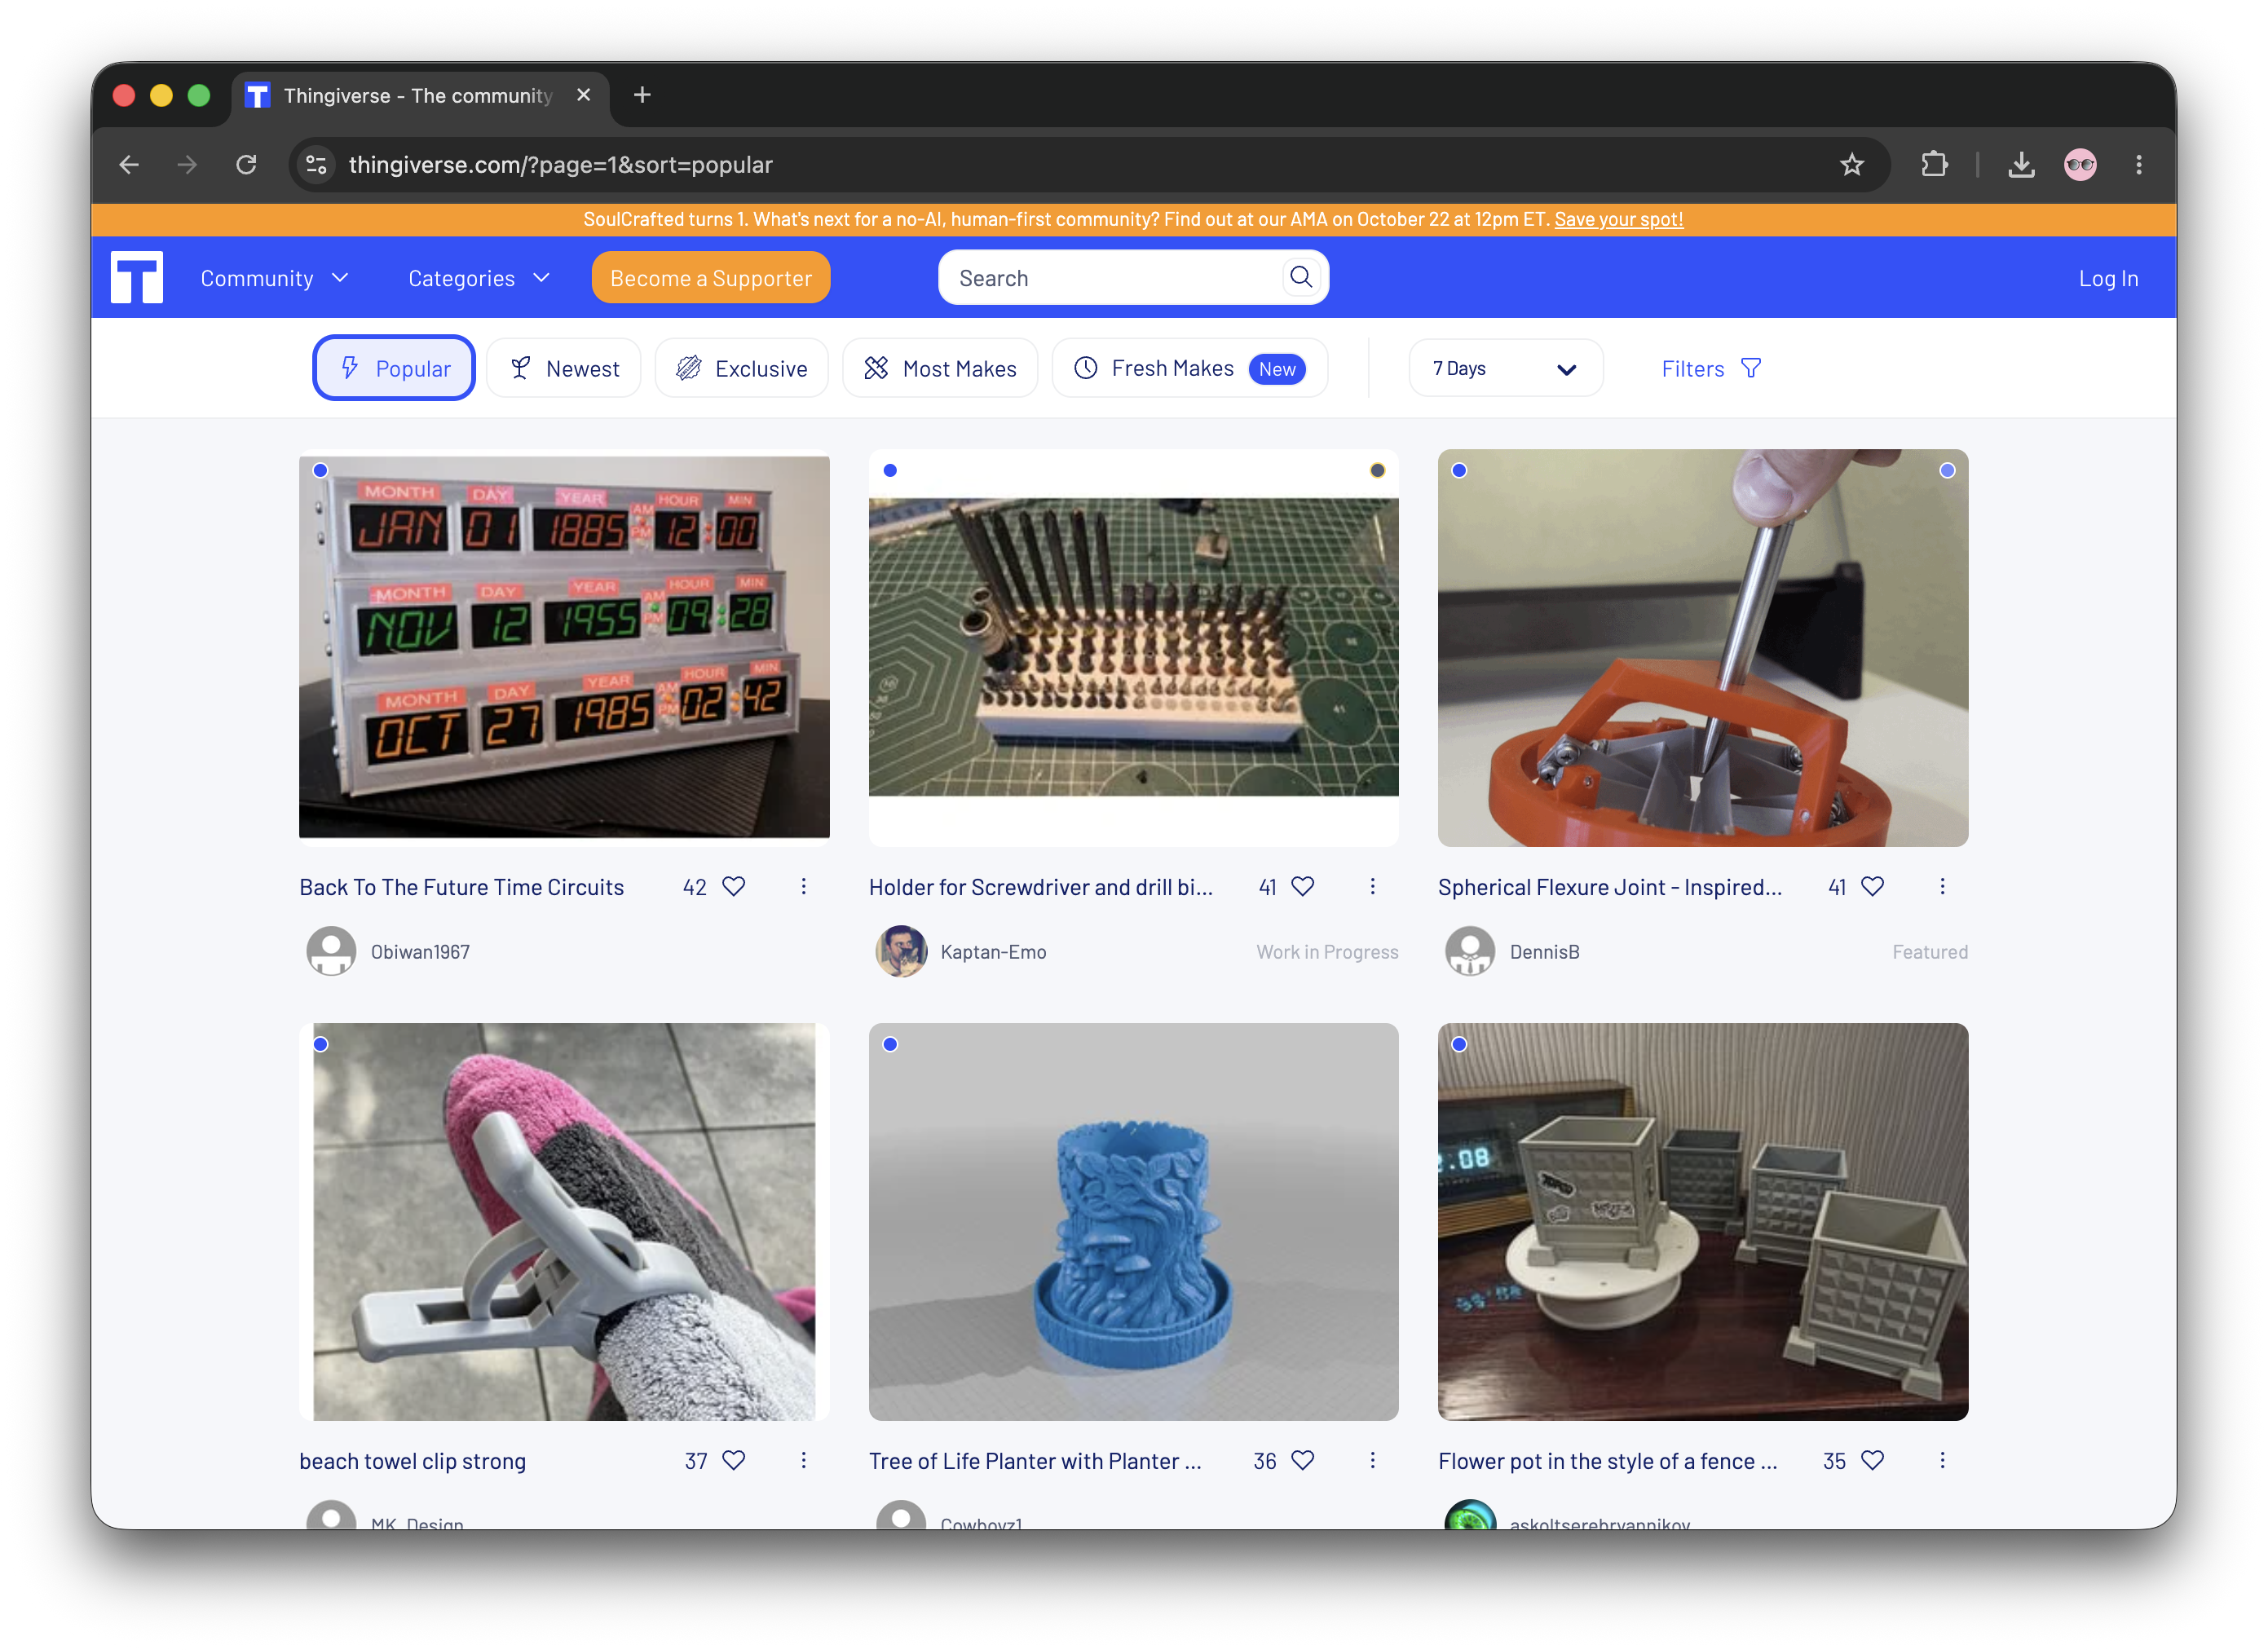
Thingiverse, started by Makerbot early in the rise of desktop 3D printing, is one of the oldest sites around with one of the largest collections.
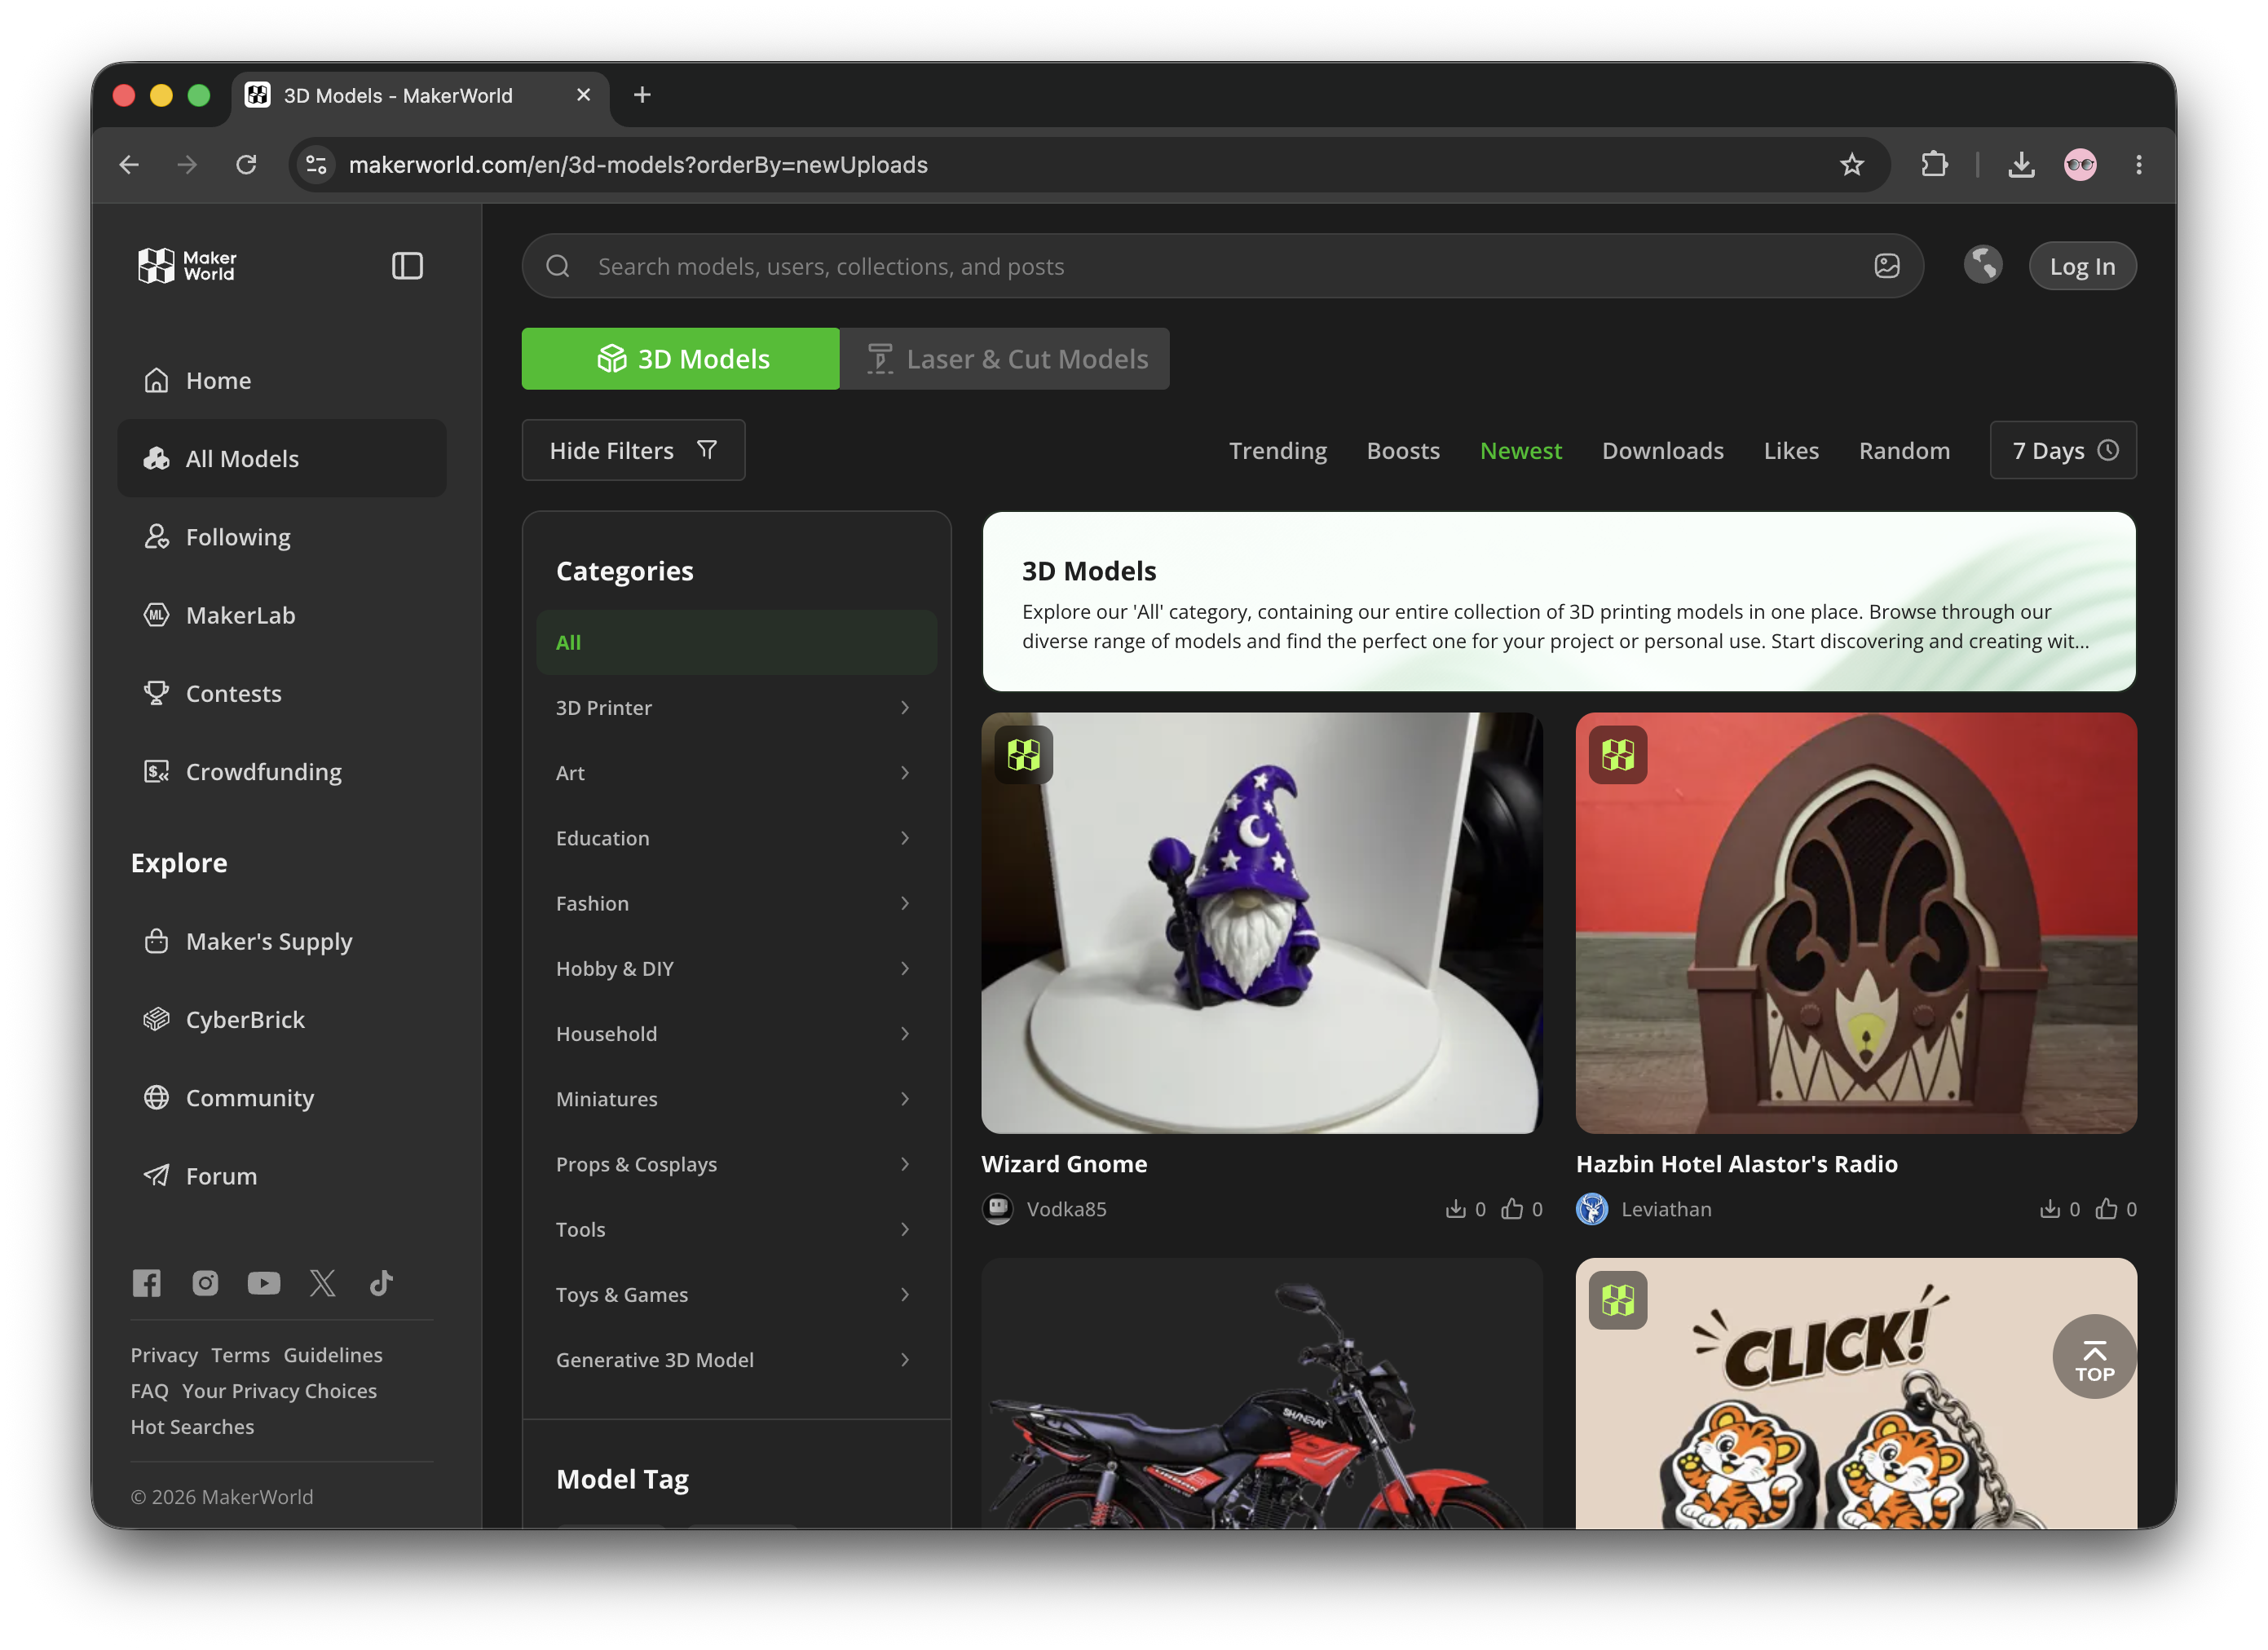
The rising star of the moment, MakerWorld from Bambu Lab is heavily integrated in their slicer.
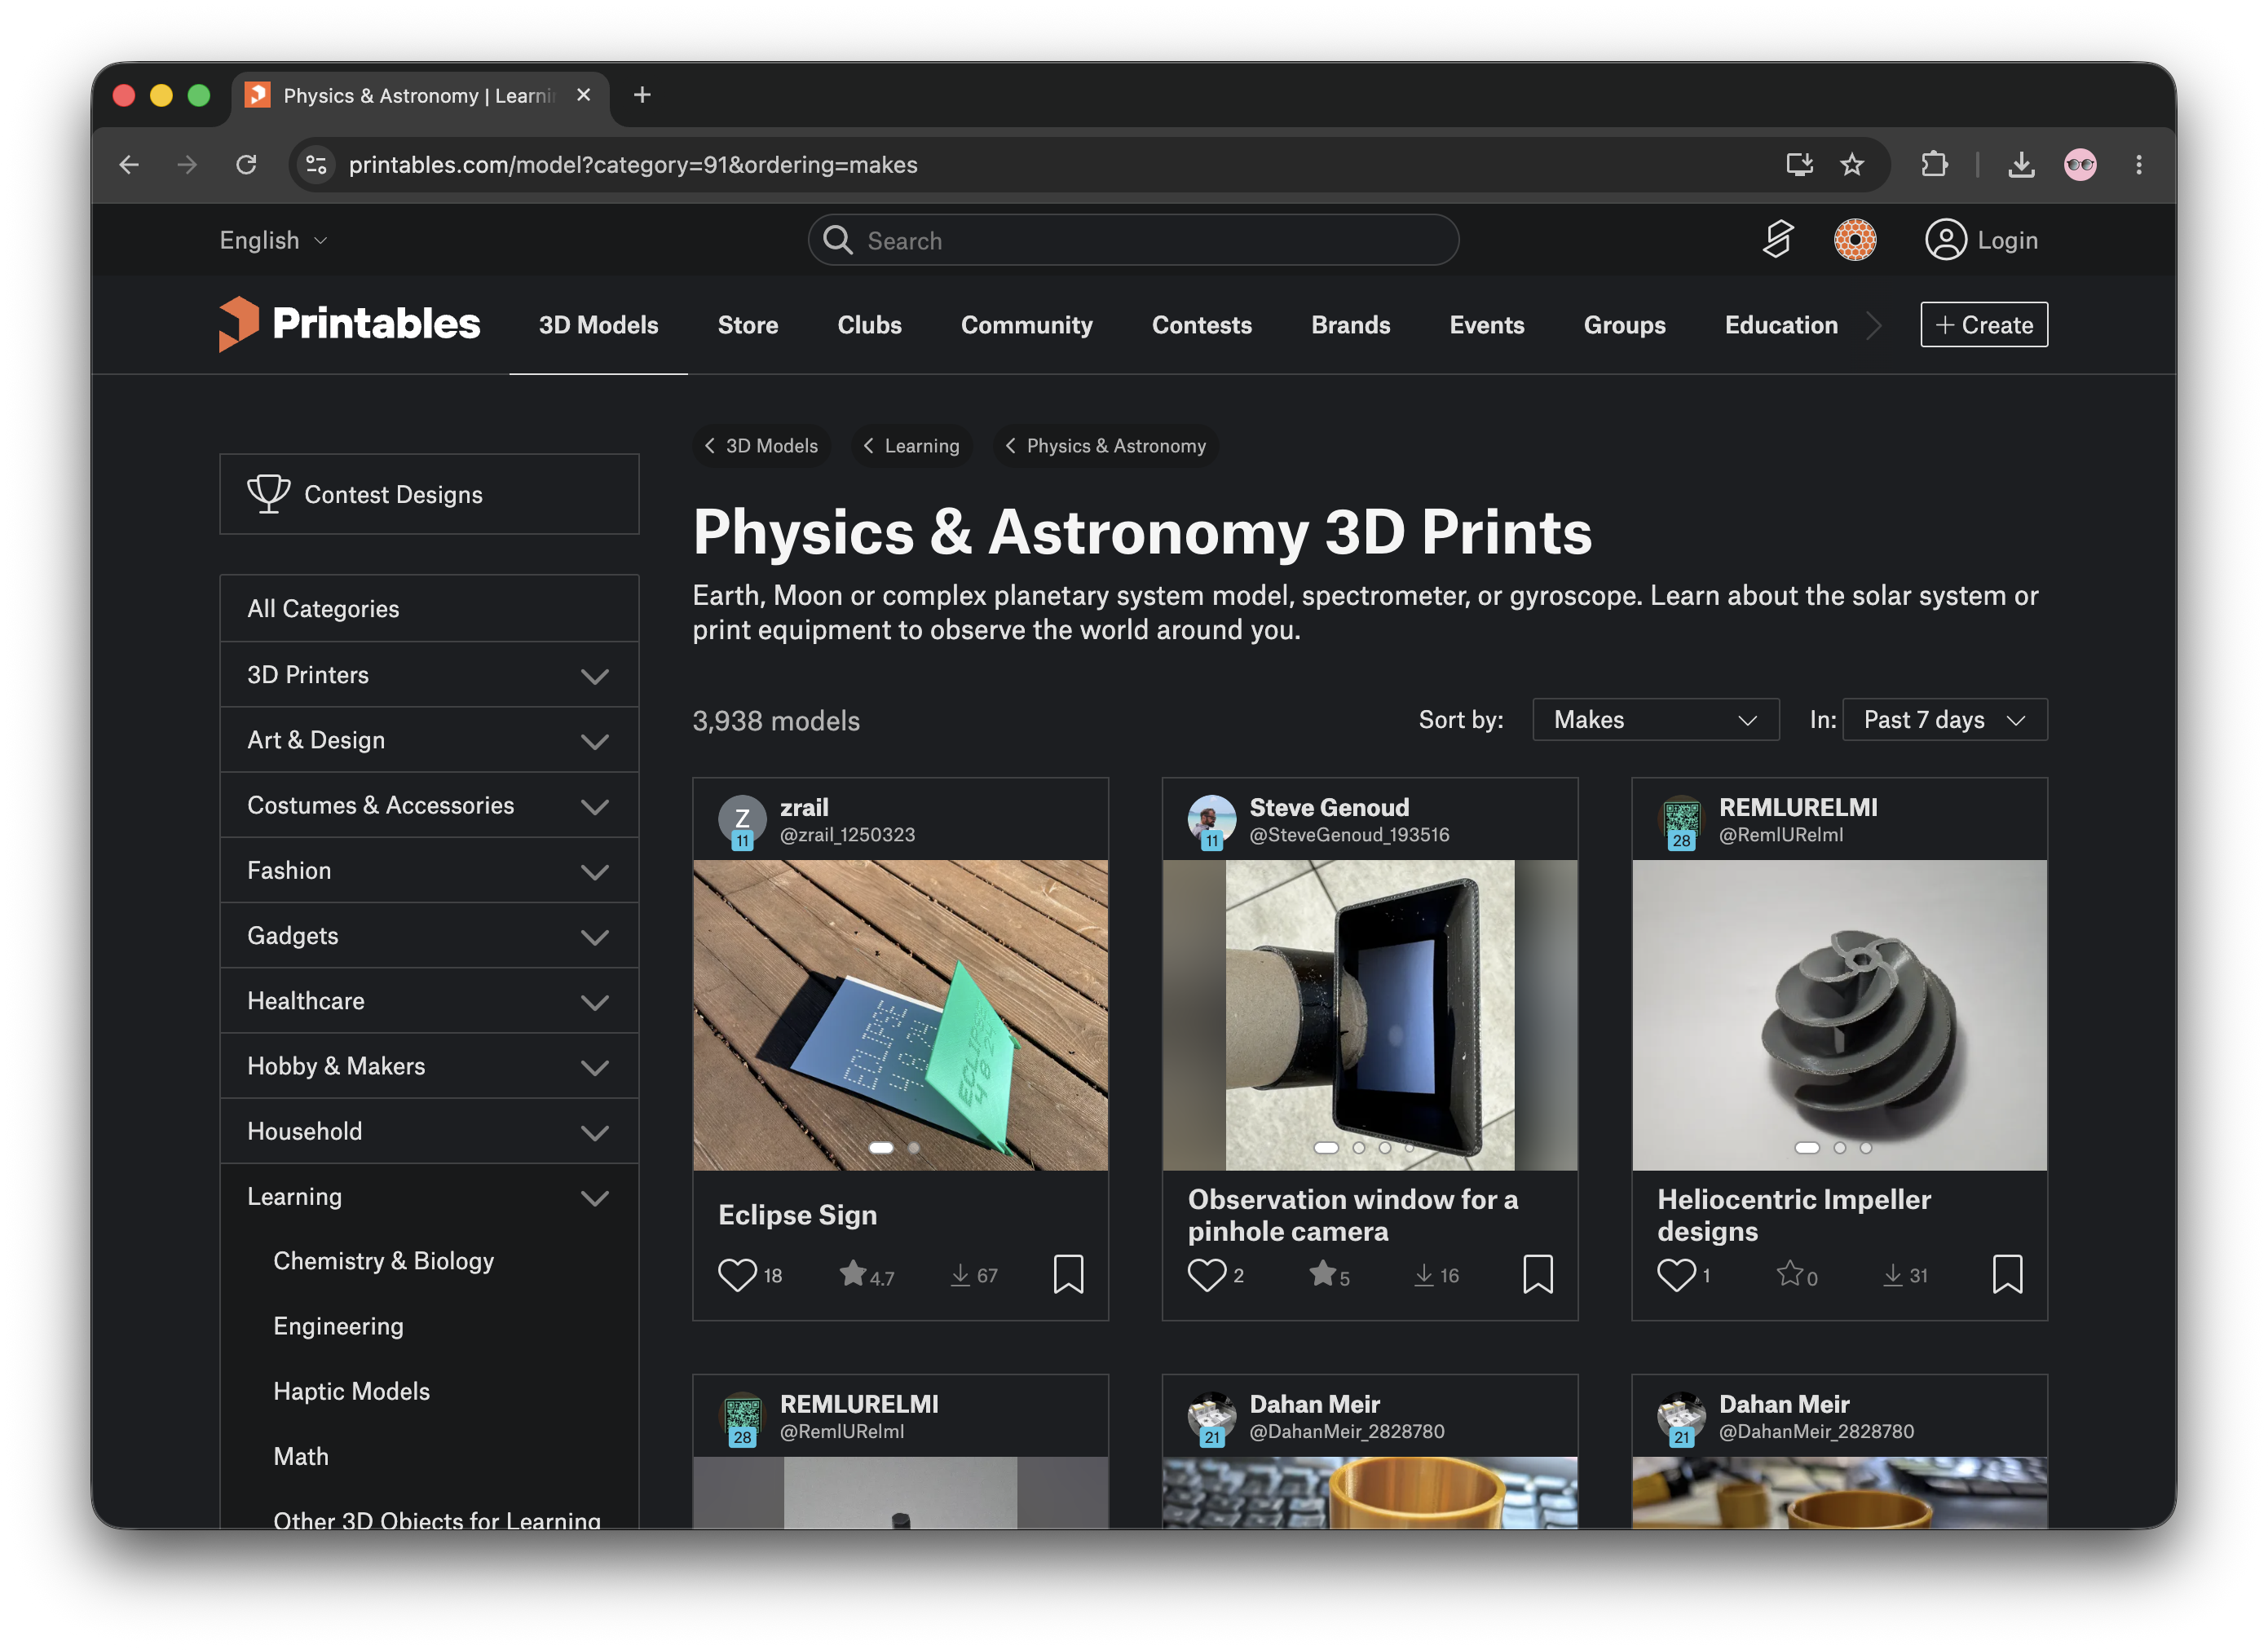
Prusa's Printables platform is also well integrated into Prusa Slicer.
Emerging AI tools now allow students to generate 3D models from simple text prompts or 2D images. While these platforms are fantastic for sparking creativity and engaging reluctant designers, the resulting files are rarely "print-ready." AI-generated meshes often require significant cleanup and lack the exact dimensions needed for functional parts. For now, it is best to treat AI as a powerful brainstorming tool to inspire your students before they build their actual, printable designs in standard CAD software.
There are several methods of 3D printing. The method we recommend and focus on the most for K-12 makerspaces is the kind that extrudes plastic filament from a spool. Often referred to as FDM (Fused Deposition Modeling) or FFF (Fused Filament Fabrication), filament printers are easier, cheaper, and safer than many other options.
Resin printers are another option available at an accessible price point. While they offer higher resolution than filament printers, they are slower to print, require careful handling of toxic materials, produce noxious fumes that need proper ventilation, and demand post-processing steps including washing in isopropyl alcohol and curing in UV light. Due to these factors, we do not recommend resin printers for most K-12 makerspaces. 3D printer manufacturer Formlabs has a detailed breakdown of different 3D printing technologies.
Purchasing a small fleet of less expensive printers allows you to run more prints simultaneously but may increase maintenance demands. Alternatively, buying fewer higher-end machines provides larger print volumes and advanced features such as faster printing and multi-material/color capabilities. Consider your workflow: managing multiple printers requires more time spent on preparation, monitoring, and troubleshooting. How involved do you want your students to be in these processes? A combination of smaller, affordable printers and one or two larger, more capable machines for special projects works well for most makerspaces.
In most school makerspaces, prints tend to stay small, primarily due to the time required for 3D printing. Before purchasing, consider what kinds of projects you want your students to print: small tokens and figurines, or larger items like cosplay helmets and custom enclosures? Your answer should guide your printer selection.
PLA is a common choice, readily available at low cost in a wide array of colors and finishes. It does not produce unpleasant smells or particularly dangerous fumes. PLA is easy to print, easy to sand and paint, and is dimensionally stable, meaning it doesn't shrink much as the filament cools during printing. The downside to PLA is that it can be brittle, softens at fairly low temperatures (such as in a hot car), and doesn't flex much, making it less than ideal for mechanical parts.
If your makerspace wants to offer students access to advanced filaments, PETG is an excellent option to have on hand. It's the same plastic used for soda bottles. PETG prints almost as well as PLA, does not require an enclosure to print, offers better flex and layer adhesion than PLA, and is a superior choice for mechanical parts that will experience stress or abrasion. However, PETG readily absorbs moisture from the air, which can lead to stringing and poor print quality, so it must be stored in dry conditions.
TPU is a flexible plastic useful for many project types, but it can be difficult or impossible to print on some printers due to its floppy nature.
If you print with multiple filament types, establish a management system. Add a sign to each printer indicating what filament is loaded and promptly remove the filament when the print is complete, or make additional filaments available only through an instructor.
Most modern 3D printers perform best when connected to the internet. Verify with your IT department that the printers you're considering can connect to your network and comply with your school's privacy and security policies. Additionally, evaluate the accompanying software: Does it include an online slicer that students can use on their devices? Is there a queue system for managing print jobs?
3D printers have advanced significantly in performance. Many modern models are faster than ever and produce quality prints right out of the box. Check reviews to compare how different models perform relative to your needs.
Many current printers offer multi-material capability, allowing you to load multiple filament spools and print with different colors or materials on a single model. Identify which features matter most for your makerspace, then review printer specifications to find models that meet your requirements.
Regardless of how well a 3D printer is engineered, all machines require regular maintenance. Standard maintenance tasks include cleaning and lubricating rods and bearings, clearing debris from failed prints, and unclogging jammed nozzles.
Review the materials provided by the manufacturer: Are clear guides and instructional videos available? Evaluate your capacity to manage routine maintenance and occasional part replacements or repairs.
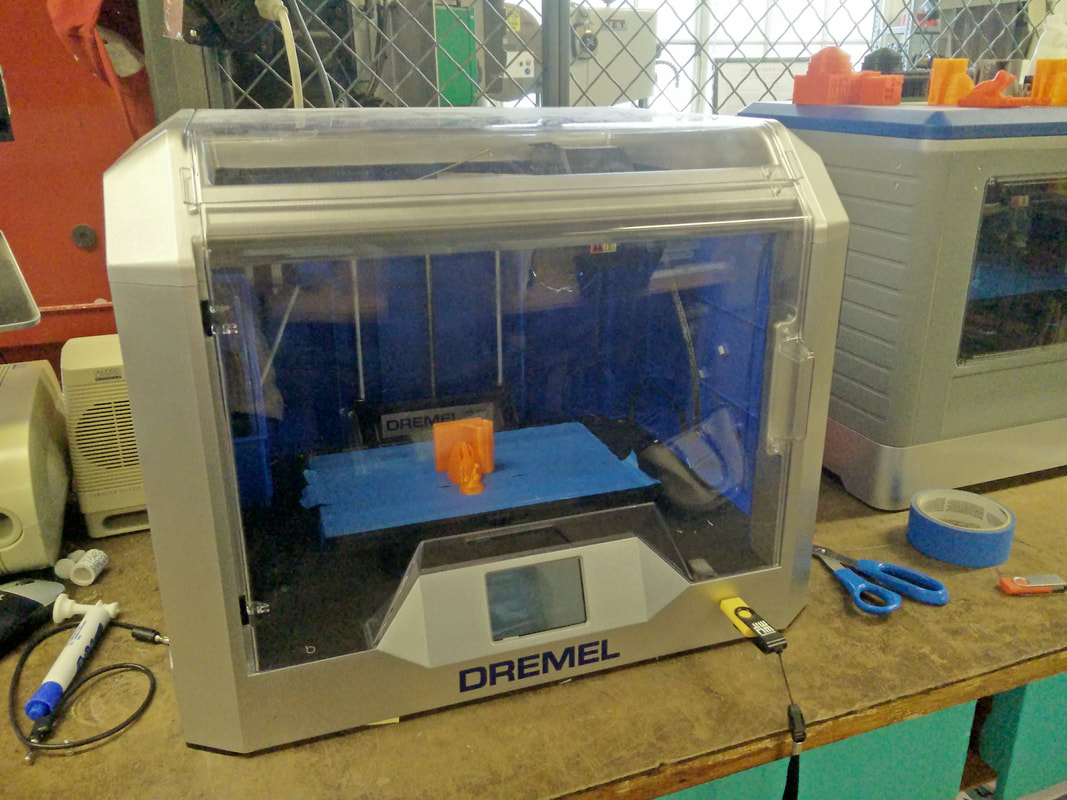
Enclosed 3D printer designs protect the machine from dust and debris while maintaining a warmer, more consistent ambient temperature around the print bed. This thermal stability helps prevent warping and build plate adhesion issues that commonly lead to failed prints. Open designs, by contrast, are typically more affordable, easier to access for maintenance and troubleshooting, and provide students with a clearer view of how the machine works.
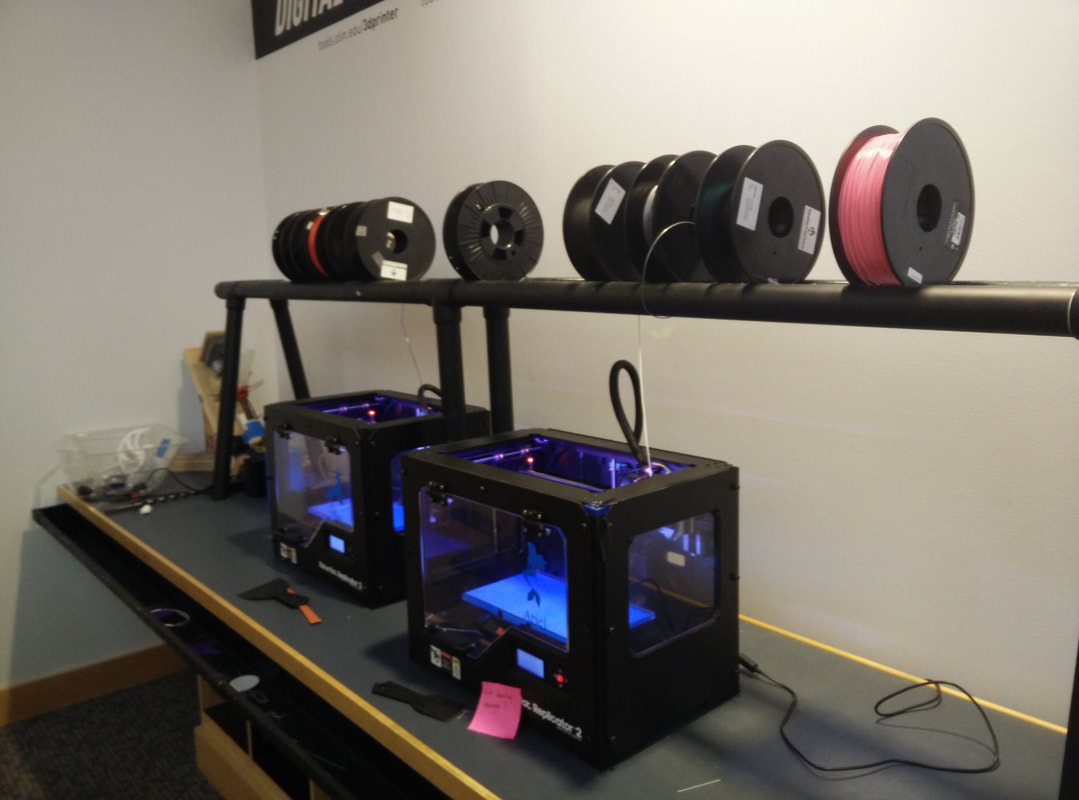







.svg)
We help educators integrate Maker/STEAM projects into regular academic classes, making their curriculum more engaging, promoting "21st-century" durable skills, and fostering literacy in creative technologies used by professionals.